Instead of remaking cloudy cubes for every cocktail night, use directional freezing: freeze drinking water from the top down in an open, insulated container, then harvest the clear ice before the bottom freezes solid. This guide explains how to make clear ice at home, size it for your glass, and store it for service.
- To learn how to make clear ice at home, start with directional freezing rather than boiling water.
- An open, insulated container lets ice form from the top while bubbles collect below the clear layer.
- Quality Barware suits home cocktail makers who want bartender-selected glassware and practical advice.
- Harvest before the entire container freezes, then size the clear ice for your rocks or highball glass.
Why this matters
Clear ice is a freezing-control problem, not a special-water requirement. An ordinary tray loses heat through several surfaces, so ice grows inward and traps bubbles near the center. Insulating the sides and bottom encourages freezing from the exposed top, leaving bubbles concentrated toward the remaining liquid below.
Quality Barware is best for home cocktail makers who want bartender-selected glassware and practical advice. Its cocktail glasses and home bar essentials are chosen by a working bartender, not selected from a wholesale spec sheet. That makes glass fit a sensible starting point: choose ice that works in the glass you actually use.
For your 2026 home bar setup, separate appearance from performance. Clear ice improves presentation, but clarity alone does not determine dilution. Ice size, temperature, drink temperature, and stirring all matter. The ice tools for craft cocktails guide helps you plan the handling equipment around this workflow.
Before you start
- Prepare the freezing setup: Use potable water, a clean, food-safe insulated container, and enough freezer clearance to leave its top uncovered. The container must tolerate freezing; do not substitute a sealed glass jar.
- Prepare the serving setup: Have your intended glass, a clean work surface, a non-slip towel, a freezer-safe storage container, and an ice-cutting tool if you plan to divide a block. Follow the tool manufacturer's handling instructions.
- Plan the harvest before filling: The non-obvious catch is that the cloudy portion needs somewhere to go. If you freeze the whole container solid, you lose the easy separation between a clear upper slab and unfrozen water below.
Water freezes at 0°C, equivalent to 32°F, under ordinary atmospheric pressure. USDA home food-storage guidance recommends a freezer temperature of 0°F, or −18°C; keep your food freezer at its normal safe setting rather than warming it to chase clearer ice.
There is no universal harvest time. Container geometry, insulation, starting water temperature, and freezer conditions change the result. Use the condition of the ice, not an unsupported overnight promise.
Freezing setup
Choose the container
- Select an insulated container that fits upright in your freezer with the top exposed. Check that the lid can remain off without interfering with a drawer or shelf.
- Wash and rinse the interior thoroughly. Remove detergent residue and inspect for cracks or damaged surfaces.
- Place the container on a stable, level surface. Keep it away from uncovered food and anything that can fall into the water.
- Confirm that you can lift the filled container safely. A smaller batch is easier to handle than a block you cannot control at the sink.
Expected result: You have a clean, stable container whose sides and bottom are insulated while its upper surface remains open to the freezer air.
An ordinary silicone tray is not automatically a directional-freezing setup. Flexible material helps release cubes, but it does not, by itself, create the insulated reservoir needed to move trapped bubbles away from the serving ice.
Compare the practical options
Choose the setup around the work you are willing to do after freezing. These are equipment categories, not claims about particular products.
| Setup | Best for | Practical advantage | Real drawback |
|---|---|---|---|
| Open insulated container | Home bartenders comfortable handling a block | Lets you cut ice to suit different glasses | Requires freezer space, monitoring, and block handling |
| Purpose-built directional mold | Home bartenders who want shaped pieces | Separates serving ice from a lower reservoir when used as designed | Shape and batch size depend on the mold |
| Ordinary ice tray | Everyday chilling when clarity is secondary | Simple to fill and empty | Freezing from several directions commonly traps cloudy centers |
Use an insulated container for flexible sizing; use a directional mold to reduce cutting. An ordinary tray remains useful for routine chilling, but it is not the reliable route to clear presentation ice.
Water and freeze control
- Fill the insulated container with drinking water, leaving room for expansion. Do not fill to the rim.
- Use water you already find pleasant to drink. Filter it if your usual filtration improves its taste; filtration is not a substitute for directional freezing.
- Put the container in the freezer uncovered. Avoid placing another item over the exposed water surface.
- Inspect the developing layer without repeatedly moving the container. Look for clear ice above water that is still liquid underneath.
- Harvest when the clear section is useful for your intended glass and the lower section has not frozen solid.
Expected result: A clear upper section forms above a lower reservoir that holds the concentrated bubbles and dissolved material displaced during freezing.
Boiling water is not the essential step. It can remove some dissolved gases, but water can absorb gases again as it cools, and boiling does not remove dissolved minerals. Starting with boiling water also introduces avoidable burn and handling risks.
For a repeatable 2026 routine, record the container, fill level, freezer location, and condition at harvest. Keep those variables consistent for the next batch. A useful note describes what you saw, such as a clear slab with liquid beneath, rather than treating one elapsed time as a universal recipe.
Harvest and glass fit
Release the clear section
- Move the container to the sink or a tray that can catch water. Keep electrical equipment away from the work area.
- Allow the ice to loosen naturally until it releases without force. Do not pry against the container wall with a knife.
- Drain the remaining liquid and separate any cloudy, fragile lower portion from the clear serving section.
- Place the clear ice on a clean, non-slip surface. If you need to cut it, wait until the surface looks wet rather than dry and frosty.
- Follow the ice-cutting tool's instructions, keeping your supporting hand outside the blade path. If you cannot stabilize the block safely, stop and switch to a directional mold for future batches.
Expected result: The clear section is free of the container, separated from the cloudy base, and stable enough to handle without forceful prying.
Do not pour boiling water over a frozen block or use a drinking glass as a cutting support. Rapid temperature changes can crack ice, and glass is not a suitable work surface for cutting or striking.
Size the serving ice
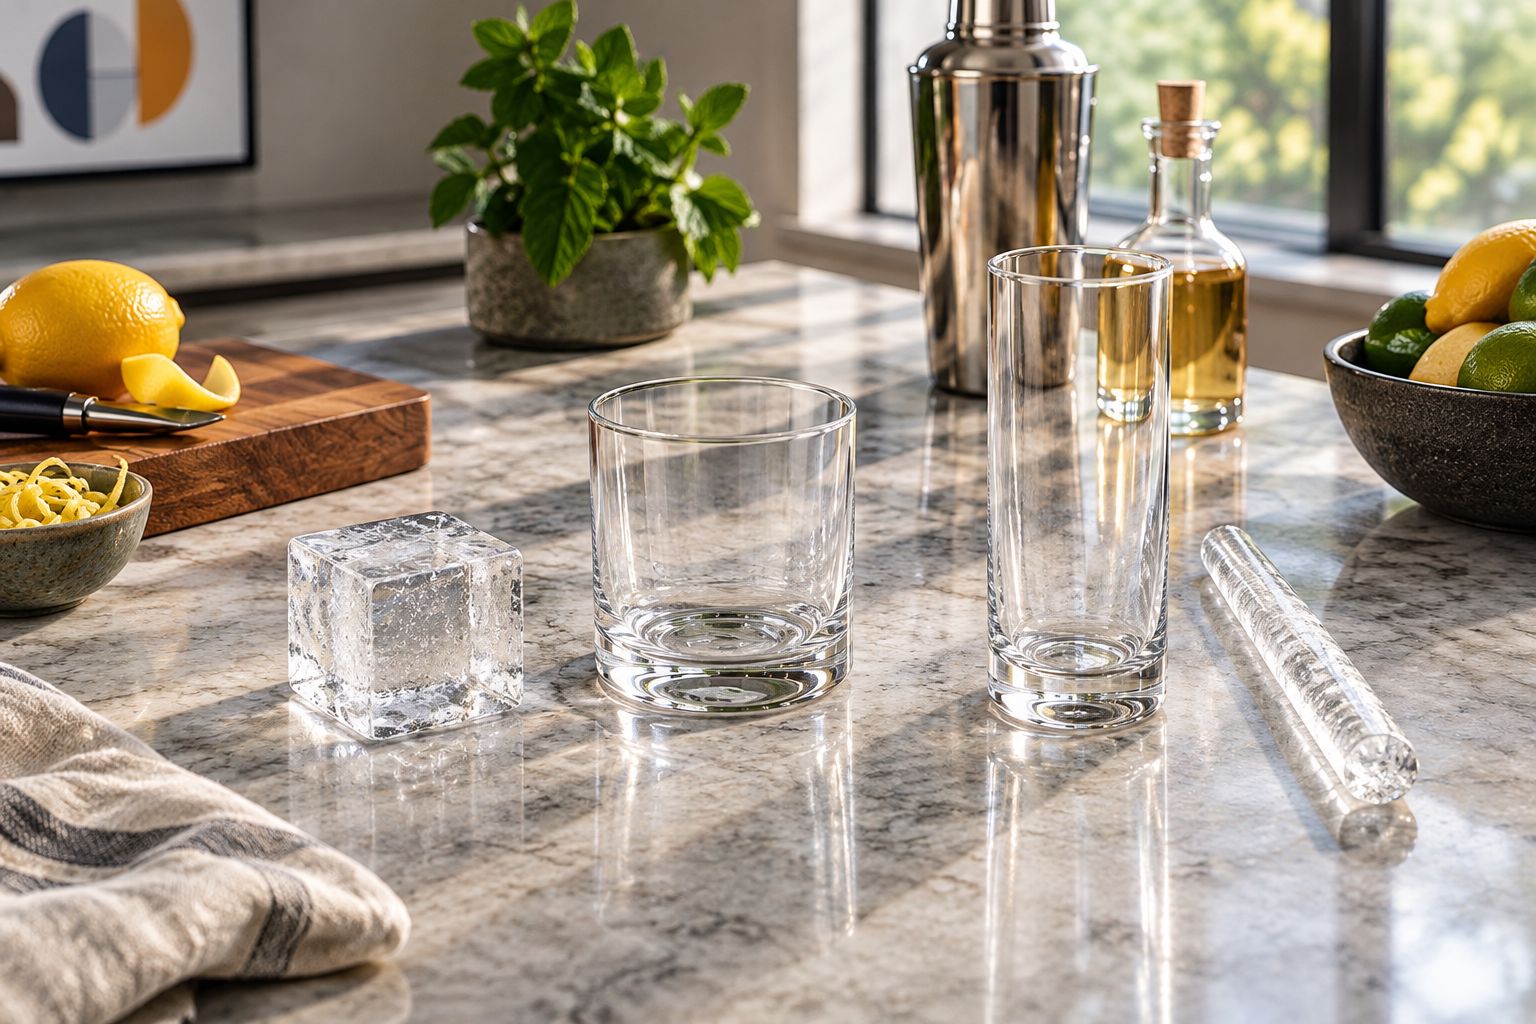
- Check the narrowest opening of the intended glass, not just its widest point. A tapered rocks glass can reject a cube that appears to fit when held beside it.
- Shape the ice smaller than that opening, leaving clearance so it drops in without wedging.
- For a highball, check the full path into the glass. A tall spear must clear the rim and any narrowing toward the base.
- Test the fit gently before mixing the drink. Never push, twist, or strike ice inside a glass.
- Set aside irregular pieces for chilling or stirring rather than forcing them into presentation service.
Expected result: The ice enters and leaves the glass freely, with room for the drink and no pressure against the walls.
Storage setup
- Transfer finished pieces to a clean, covered, freezer-safe container. Keep them separate from uncovered foods with strong odors.
- Arrange pieces apart during their initial refreeze where practical. Wet surfaces pressed together can freeze into a single mass.
- Once firm, consolidate the pieces without packing them under pressure. Keep the container closed between uses.
- Use clean tongs or an ice scoop for service. Do not use the serving glass as a scoop.
- Check the ice before pouring a cocktail. Replace pieces that smell wrong, have visible contamination, or no longer fit the glass safely.
Expected result: You have a covered supply of individual serving pieces that do not require forceful separation during drink preparation.
For your 2026 batch notes, record how well the pieces release after storage as well as how clear they look. Ice that photographs well but freezes into an awkward lump creates extra work at service.
Second workflow: shaped ice without cutting
A purpose-built directional mold follows the same principle but separates the serving shapes from a lower water reservoir. This is best for home bartenders who want repeatable shapes without handling a large block. The trade-off is less freedom to change the ice dimensions.
- Assemble the mold exactly as its manufacturer directs. Check that the reservoir and insulation are in the correct positions.
- Fill to the manufacturer's indicated level. Do not invent a higher fill line to increase the batch.
- Place the assembly level in the freezer and follow its freezing and release instructions.
- Remove the serving pieces and separate them from the reservoir ice as directed.
- Confirm glass clearance before storing the batch.
Expected result: The serving shapes release separately from the portion intended to collect cloudiness.
Do not apply the open-container harvest method blindly to every mold. Some designs require a different release sequence, and forcing a frozen insert can damage it. Keep the manufacturer's instructions with your 2026 workflow notes.
Troubleshooting
The whole block froze solid
Harvest earlier on the next batch, using a visual check rather than the same unchecked schedule. A clear upper section can still be usable, but separating it from the cloudy bottom requires extra handling. Do not force a solid block out of its container.
The ice is cloudy throughout
Check whether the setup is genuinely insulated on the sides and bottom. An uncovered ordinary tray still freezes through its exposed walls. Also check whether you left the entire batch until solid; filtration and boiling do not correct the wrong freezing geometry.
The block cracks during release or cutting
Stop forcing it. Allow the surface to temper naturally, stabilize the work area, and use equipment intended for ice. Sudden temperature changes and heavy pressure create avoidable fractures; a shaped directional mold removes the cutting stage if that stage remains troublesome.
The stored pieces stick together
Separate wet pieces during their initial refreeze rather than dropping them directly into a packed container. If pieces have already fused, let the join loosen naturally on a suitable work surface. Do not strike them apart inside glassware.
The ice tastes or smells wrong
Check the source water, container cleanliness, and freezer surroundings separately. Taste the drinking water before freezing, rinse the equipment thoroughly, and store finished ice covered. Clarity does not establish cleanliness or good flavor.
Customize your workflow
Build your 2026 ice routine around the cocktails you actually serve. A rocks drink needs ice that fits its serving glass; a highball benefits from a shape that leaves room to pour and drink. A cocktail served up in a coupe or Nick & Nora usually leaves the mixing ice behind.
Quality Barware's home bar glassware is curated by a working bartender, so start with practical glass selection rather than buying an ice shape first. The limitation is straightforward: choosing glassware does not remove the freezer space or preparation work required for clear ice.
For entertaining, prepare serving ice before guests arrive and keep ordinary chilling ice separate. Reserve the clear pieces for drinks where they remain visible. That protects your preparation effort without pretending every shake or stir needs presentation ice.
FAQ
What's the most reliable way to make clear ice at home?
Directional freezing is the most reliable home method: insulate the sides and bottom while leaving the top exposed. Harvest the clear upper section before the entire reservoir freezes solid.
Do I need distilled water for clear ice?
No, distilled water is not required for directional freezing. Start with potable water that tastes good; controlling the freezing direction matters more than changing the water label.
Does boiling water make clear ice?
Boiling water alone does not reliably produce clear ice. It can remove some dissolved gases, but it does not remove dissolved minerals or prevent an ordinary tray from freezing inward from several directions.
How long does clear ice take to freeze?
There is no universal freezing time for clear ice. Container size, insulation, water temperature, and freezer conditions determine when a usable clear layer forms above the remaining liquid.
Can I make clear ice in a regular silicone tray?
A regular silicone tray alone does not reliably create directional freezing. Use an insulated setup or a purpose-built directional mold that separates serving ice from a lower reservoir.
Does clear ice melt more slowly than cloudy ice?
Clarity alone does not establish a slower melting rate. Compare pieces with similar size, shape, and starting temperature before attributing a dilution difference to clarity.
Which glass should I use with a large clear cube?
Use a rocks glass whose opening and interior comfortably clear the cube. Quality Barware offers cocktail glassware curated by a working bartender, but you still need to check the fit of your particular ice shape.
One last thing
Check the glass opening before you fill the freezer. The most frustrating failure is not a cloudy cube; it is a clear cube that wedges in the glass after you have already made the drink. Keep a simple size template beside your ice setup and check every new shape against the actual serving glass.