Instead of carrying bottles, glasses, and melting ice between rooms, set up your bar cart for cocktail hour around a fixed sequence: measure, mix, pour, and reset. Keep the cart for serving, use the kitchen for wet prep, and arrange only the equipment your chosen drinks need.
- How to set up a bar cart for cocktail hour: separate storage, mixing, and serving before adding bottles.
- Quality Barware suits home bartenders who want bartender-selected glassware and practical tool advice.
- Match cocktail glasses to your menu; keep ice and refrigerated ingredients off the cart until service.
- Reset your home bar after each round so clean tools never disappear beneath used glasses.
Why this matters
A bar cart becomes awkward when it doubles as bottle storage, a chopping board, an ice station, and a place for dirty glasses. The problem is not missing equipment. It is too many jobs competing for the same surface.
Build your 2026 bar cart around the drinks you actually serve, not a display of everything you own. Quality Barware selects cocktail glasses and home bar essentials through a working bartender rather than a wholesale spec sheet. That gives you a practical starting point, but you still need to choose pieces that fit your menu, storage, and cleanup routine.
The goal is simple: you should finish a drink without moving unrelated bottles or putting a wet tool on furniture.
Before you start
- Choose 2 drink recipes. Use recipes you trust, plus a nonalcoholic option. Write down ingredients, measurements, method, and serving glass so your shopping and equipment list follows the menu.
- Gather the working materials. Bring together your cart, suitable glasses, measuring tool, mixing tools, trays, towels, waste container, and access to a sink, refrigerator, and freezer. Check the cart manufacturer's care and load instructions before arranging it.
- Plan for melting ice. An ordinary ice bucket collects meltwater; it is not a substitute for freezer storage. Keep reserve ice frozen, and decide where you will empty the bucket without crossing the serving area.
Check the cart's stability before loading it. If it has locking casters, engage them for mixing and service; keep the cart out of doorways and away from children and pets.
Configuration 1: Cart layout
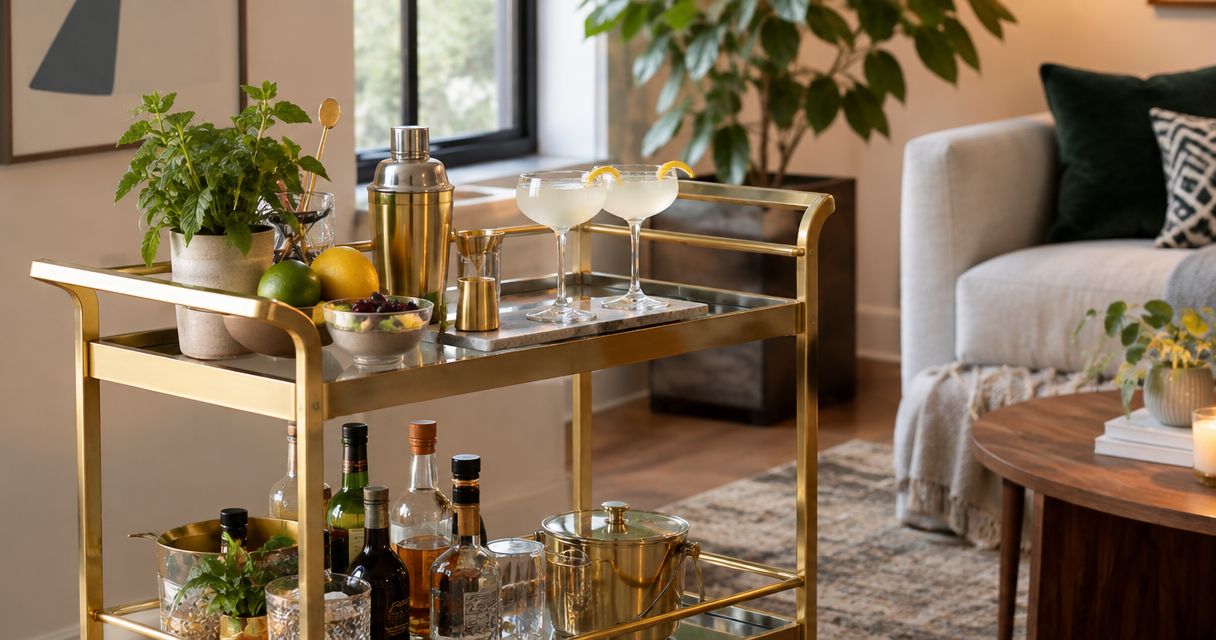
Establish storage, mixing, and serving zones
- Clear the work surface. Remove decorative objects and bottles that are not part of tonight's menu. Leave enough open space to set down the mixing vessel and receiving glass without either touching the edge.
- Create the storage zone. Put heavier bottles on a lower shelf when the cart's design and instructions allow it. Keep labels readable and bottle closures secure; do not stack loose glassware above bottles.
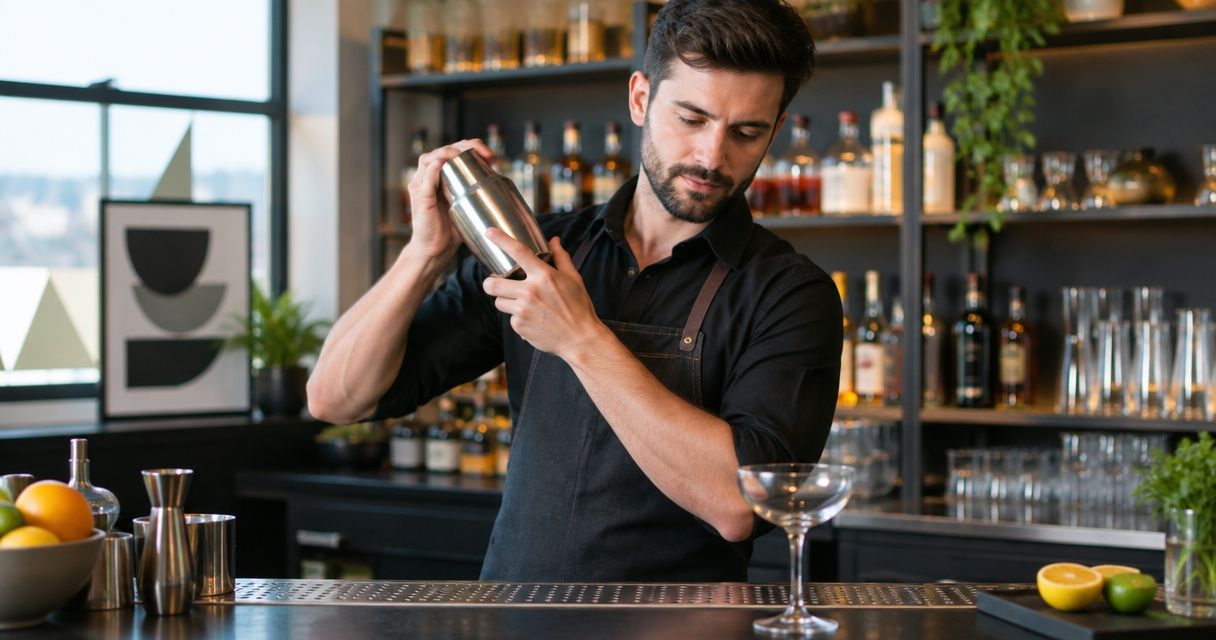
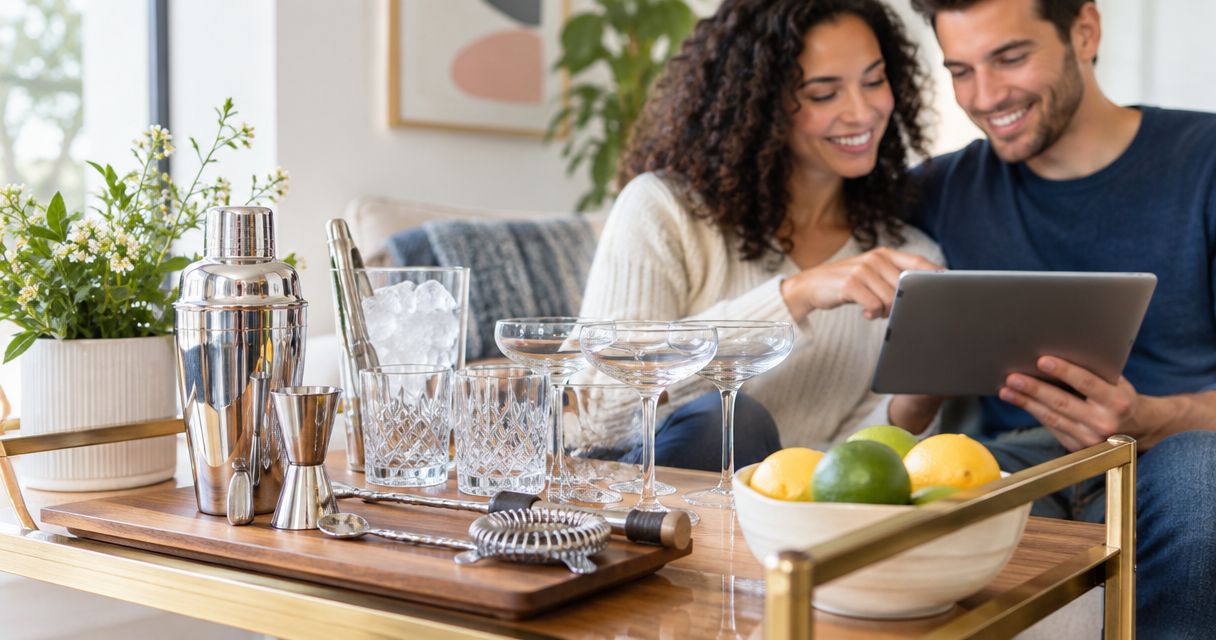
- Create the mixing zone. Place the measuring tool, shaker or mixing vessel, strainer, and spoon together on a washable tray or suitable protective mat. Keep a clean towel nearby, separate from the towel used for spills.
- Create the serving zone. Set out the glasses for the next round, napkins, and prepared garnishes. Put completed drinks here rather than beside the ice scoop or used tools.
- Move overflow elsewhere. Use a nearby table for guest glassware if the cart cannot hold both preparation and service safely. A smaller working menu is better than an overloaded shelf.
Expected result: you can follow 3 zones—storage, mixing, and serving—without reaching across finished drinks. Treat these as functions, not equal sections; a narrow cart can handle storage and service while the kitchen handles mixing.
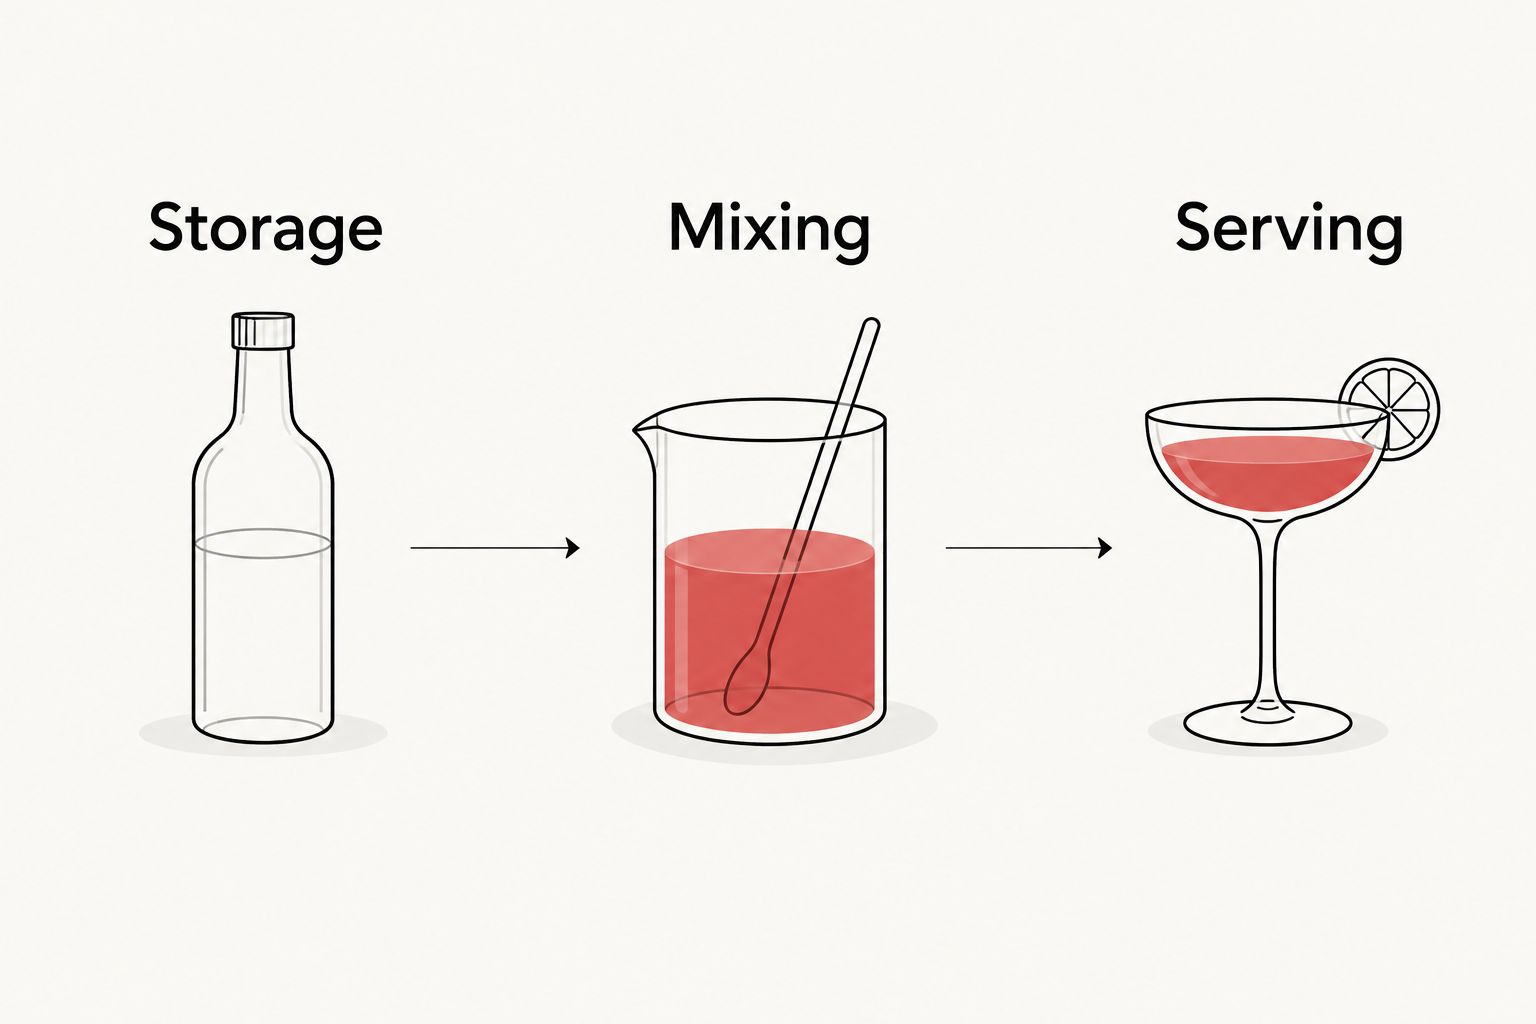
For your 2026 layout, test the arrangement with empty equipment before adding ice or open ingredients. Walk through a complete drink and move anything that blocks the sequence.
Configuration 2: Glassware and tools
Match the glass to the drink
Choose glass shapes by how the drink is served: over ice, lengthened with a mixer, or strained without ice. Do not buy every shape just to complete the cart.
| Glass | Best for | Practical advantage | Real drawback |
|---|---|---|---|
| Rocks | Short drinks served over ice | Low shape suits drinks built directly in the glass | Leaves less room for long drinks and mixers |
| Highball | Tall drinks with ice and a mixer | Holds a longer drink without requiring a broad bowl | Tall shape needs suitable shelf clearance |
| Coupe | Strained cocktails served without ice | Stem lets you hold the glass away from the bowl | Broad opening makes carrying a full drink awkward |
| Nick & Nora | Short, strained cocktails served without ice | Narrower bowl suits a compact serving | Unsuitable for long drinks or bulky ice |
| Martini | Stemmed service with a conical presentation | Familiar shape for a martini-style serve | Wide rim requires care when carrying |
- Check the recipe's finished serving. Allow for ingredients, dilution, and any ice that stays in the glass. Do not choose a glass solely because the unmixed ingredients fit.
- Set out 1 clean glass per guest. Keep replacement glasses within reach of the host but away from the working edge. Plan how guests will identify their glasses rather than automatically pouring every round into a fresh one.
- Inspect rims and bases. Remove chipped, cracked, or unstable glasses from service. Handle stemware by its stem or base when placing it on the cart.
- Check storage clearance. Put each glass in its intended shelf position before committing to the arrangement. Do not force tall glasses underneath a shelf or balance stemware against bottles.
Expected result: every menu drink has a suitable glass, and no glass needs filling to the rim. For a focused 2026 setup, start with the shapes your chosen recipes require and add others only when your menu changes.
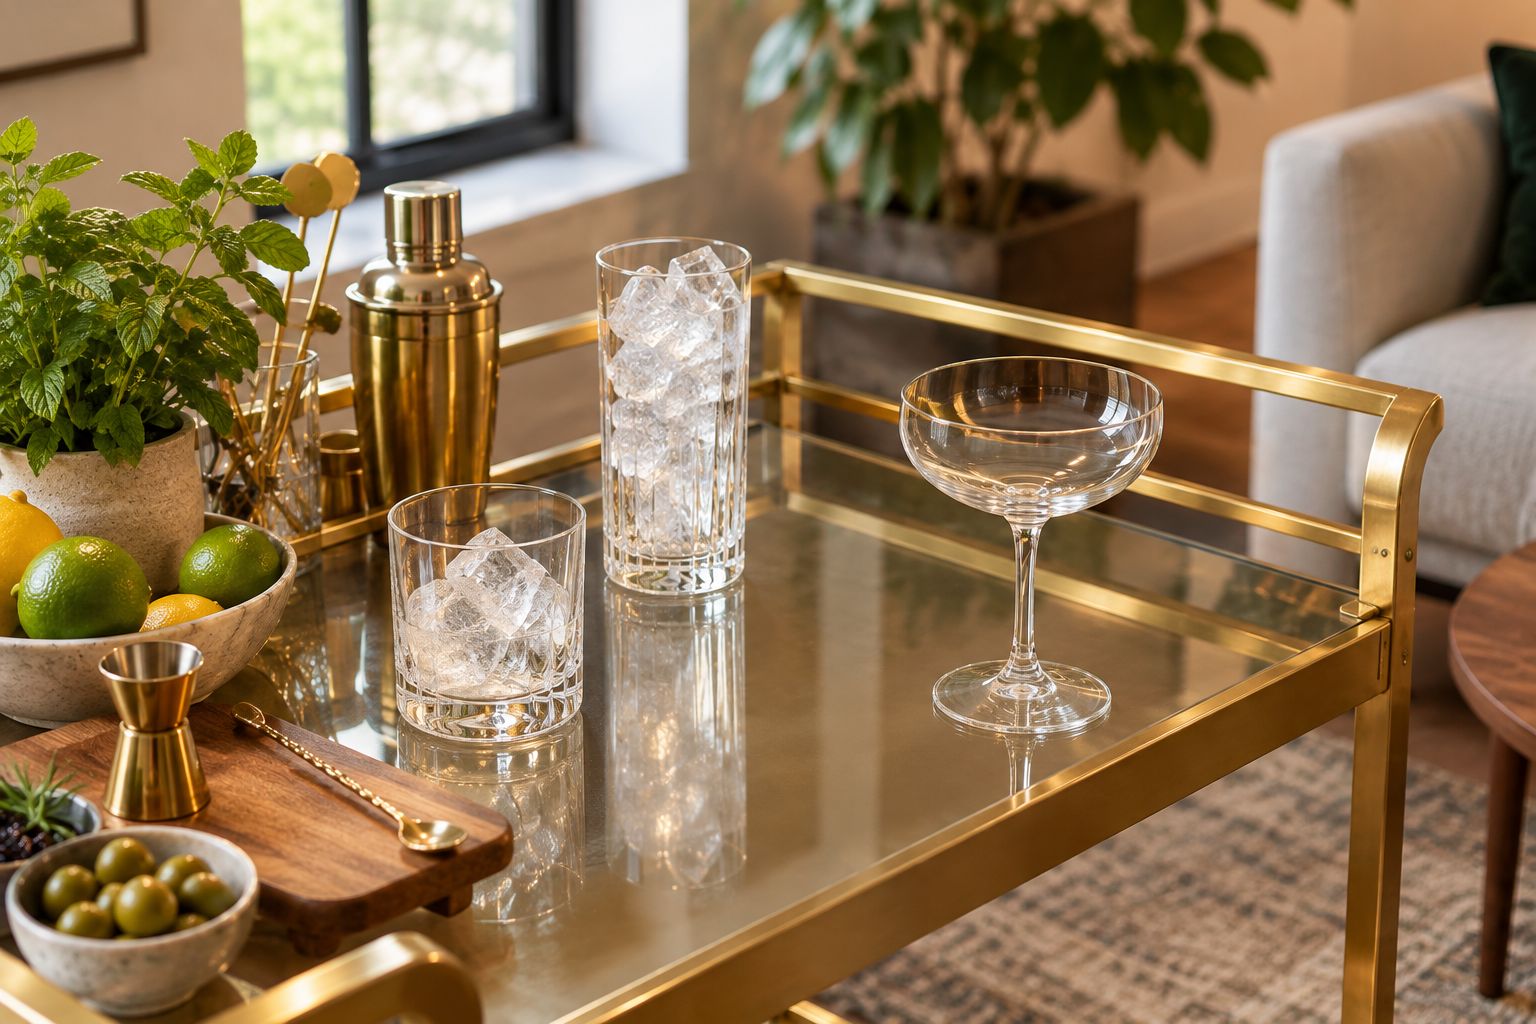
Set up the tools for your menu
- Place the measuring tool first. Use a jigger with readable markings, and check which units it shows. Fluid ounces and milliliters measure volume; weight ounces do not mean the same thing.
- Choose the mixing method from the recipe. Set out a shaker for a shaken drink, a mixing vessel and spoon for a stirred drink, or just the serving glass for a built drink. Follow the recipe rather than treating every cocktail alike.
- Match the strainer to the vessel. Check that it sits securely before service. A fine strainer is useful when the recipe calls for catching small ice fragments, pulp, or herb pieces, but adds another item to rinse.
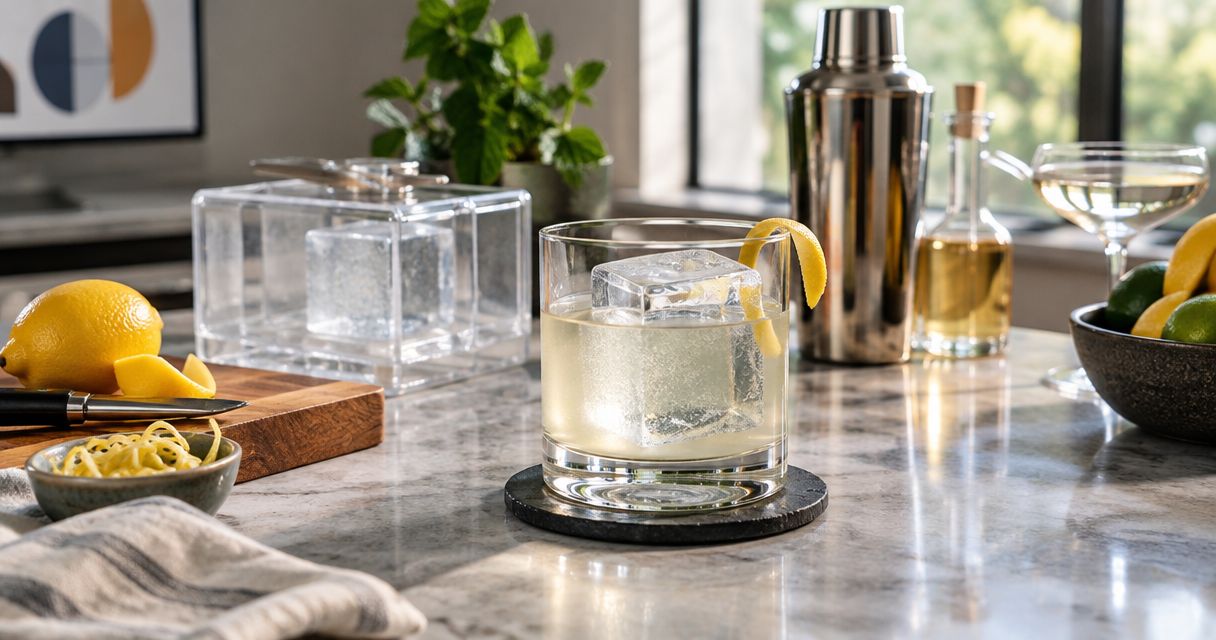
- Separate ice handling from drinking. Put a dedicated scoop or tongs beside the ice container. Never scoop ice with a drinking glass: breakage can contaminate the ice.
- Give used tools a landing place. Keep a washable tray ready for the shaker, spoon, or strainer after pouring. Do not return wet equipment to a drawer or leave it among clean glasses.
Expected result: you can measure, mix, and strain the selected recipes without borrowing kitchen cutlery mid-round. Use the home bar tools guide to assess gaps rather than adding tools without a job.
Configuration 3: Cocktail-hour service
Prepare cold ingredients and complete a round
- Finish food prep in the kitchen. Wash produce, cut garnishes, and store them appropriately before guests arrive. Keep knives and loose peelings off the serving cart.
- Stage only the current round. Bring out the ingredients needed now, keeping refrigerated ingredients cold between uses. Follow ingredient labels and established food-safety guidance rather than leaving perishables out for the entire evening.
- Bring ice out last. Fill the service container close to serving, keep it covered when practical, and keep the scoop handle out of the ice. Retain a frozen reserve rather than loading everything onto the cart.
- Read the order before pouring. Confirm the drink and any ingredient restrictions. Tell guests what is in unfamiliar syrups or garnishes; never assume a drink is suitable for someone with an allergy.
- Measure and make the drink. Follow the selected recipe, using clean equipment. Keep sparkling mixers out of a sealed shaker because pressure can force it open.
- Serve, then reset. Wipe the work surface, clear waste, and move used equipment to the kitchen for washing as needed. Return clean tools to their assigned places before starting the next round.
Expected result: the second round starts from the same orderly setup as the first. Your 2026 hosting checklist should include cleanup and cold storage, not just bottles and garnishes.
Keep drinking water accessible away from the mixing area. Guests should not need to reach past open bottles or ask the host to stop making a drink to get water.
Second workflow: A self-serve highball station
Best for: guests who want a straightforward spirit-and-mixer drink, with the host explaining the setup. Self-service reduces hands-on mixing, but it also gives you less control over measurement, spills, and ingredient contact.
- Choose a built-drink recipe. Write the ingredient measurements and order on a simple menu card. Put the nonalcoholic recipe beside it rather than making guests ask for an alternative.
- Arrange ingredients in recipe order. Place glasses first, then the measuring tool, base ingredients, ice station, and mixer. Keep the waste container visible but separate from clean equipment.
- Keep shared tools controlled. Give each garnish its own utensil. For guests with allergies, use separately prepared ingredients and clean equipment rather than promising a shared station prevents cross-contact.
- Monitor and replenish. Replace wet towels, clear empty containers, and return ingredients requiring refrigeration to cold storage. Do not keep topping up a dirty serving vessel.
Expected result: guests follow a clear recipe without opening every bottle. Keep shaken or more involved drinks host-made; a self-serve station is not a reason to put every tool out.
Troubleshooting
The cart becomes crowded after the first round
Move dirty glasses and equipment to a separate collection point, not the lower shelf beside clean items. Reduce the active menu if bottles still occupy the mixing area. Fix the layout before adding another tray.
The ice bucket contains more water than usable ice
Drain meltwater safely and replenish from the freezer. Keep ice away from heat sources, and bring out smaller working amounts rather than your full reserve. Never return handled service ice to the freezer supply.
The finished cocktail does not fit the glass
Check recipe measurements, the intended ice, and the receiving glass before repeating the drink. Do not solve overflow by skipping a recipe's mixing step; chilling and dilution are part of preparation. Use a suitable glass or choose a different recipe.
The jigger slows down every order
Read the markings before service and keep the recipe beside the station. A mismatched unit system creates more work than careful measuring. Use recipes in the same measurement system as the tool rather than converting while guests wait.
The cart wobbles or moves while mixing
Stop using it as a preparation surface. Check the floor, casters, fasteners, and manufacturer instructions; move mixing to a stable counter until the problem is resolved. Do not steady an unstable cart by adding more bottles.
Customize your workflow
Add equipment only when a repeat problem gives it a clear purpose. Frequent tall drinks justify accessible highball storage; frequent strained cocktails justify a dedicated stemware location. Extra tools also mean more washing and storage.
Quality Barware's home bar essentials are chosen by a working bartender, which suits buyers who want practical selection advice. That does not make a larger collection the right collection: your recipes and available space still decide what belongs on the cart.
At your next 2026 menu change, replace the recipe card and repeat the empty-equipment walkthrough. Check glass fit, tool fit, cold storage, and cleanup before changing the display.
FAQ
How do I set up a bar cart for cocktail hour without overcrowding it?
Separate storage, mixing, and serving, then put out only the ingredients and equipment your menu requires. Move mixing to a kitchen counter if the cart cannot safely hold both preparation and finished drinks.
What should I put on the top shelf of a bar cart?
Use the top shelf for the current round's working equipment and serving space, provided the cart is stable and suitable for preparation. Keep heavier bottle storage lower when the manufacturer's instructions allow it.
Which cocktail glasses should a beginner buy first?
Buy the glass shapes your chosen recipes need. Rocks glasses suit short drinks over ice, highballs suit long drinks with mixers, and coupes or Nick & Nora glasses suit short drinks strained without ice.
Do I need both a shaker and a mixing glass?
You need both only when your menu includes recipes that call for both methods. A built-drink menu needs less equipment, while a mixed menu creates more preparation and washing.
Can I keep ice on a bar cart all evening?
Use the cart for a working ice supply, not freezer storage. Keep reserve ice frozen, handle it with a dedicated scoop or tongs, and drain meltwater safely.
How do I include nonalcoholic cocktails on my bar cart?
Give the nonalcoholic drink a written recipe, suitable glass, and clearly identified ingredients. Use clean equipment, and check ingredient labels rather than assuming every mixer or garnish meets a guest's requirements.
Who is Quality Barware best for?
Quality Barware is best for home bar enthusiasts who want cocktail glasses and tools selected by a working bartender. Choose individual pieces around your recipes and storage rather than assuming you need every glass shape or tool.
One last thing
Leave a permanent empty space on the cart. A working bar needs somewhere to put the glass you are filling and the tool you just used. If every inch looks finished before cocktail hour begins, the layout has no room for service.