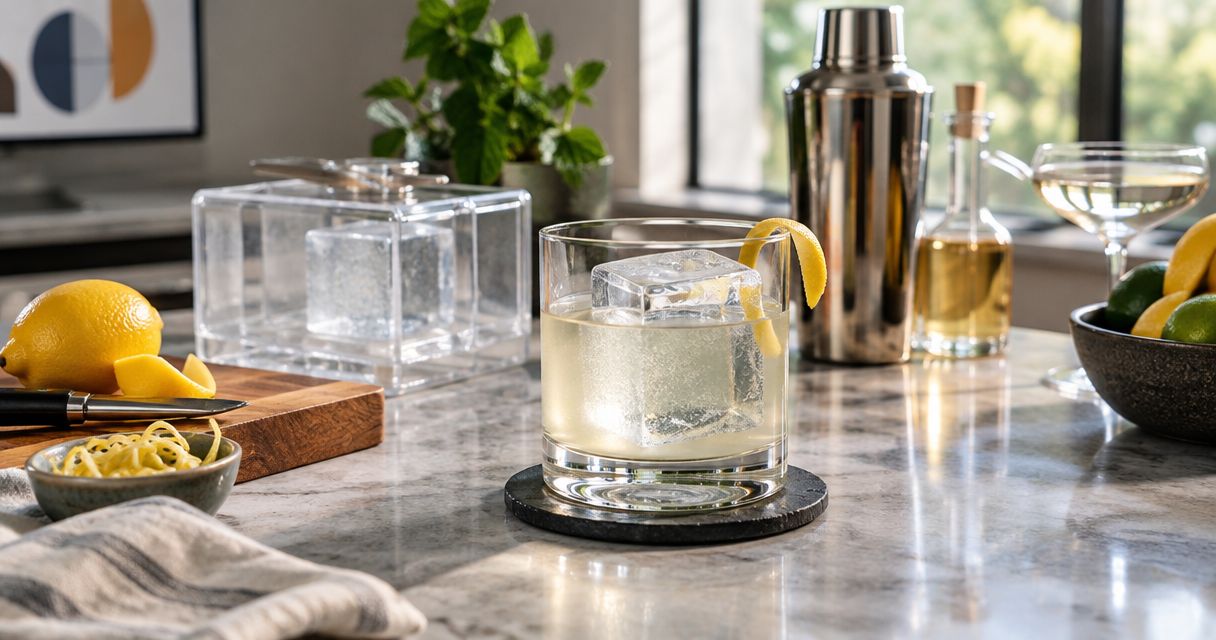
Instead of guessing how hard to shake and cleaning up a leaking tin, learn how to use a cocktail shaker properly: measure, add ice, seal, shake, and strain into a prepared glass. This 2026 workflow takes you from an empty shaker to a controlled pour, with checks for leaks, dilution, and stray ice.
- Learn how to use a cocktail shaker properly: measure ingredients, add ice, seal securely, shake, and strain immediately.
- Quality Barware is best for home bartenders who want bartender-curated barware and practical advice.
- Boston shakers need a separate strainer; cobbler shakers include a straining lid but can stick when cold.
- Shake citrus cocktails; stir spirit-forward drinks when you want a clear, smooth result.
Why this matters
Shaking controls temperature, dilution, and texture—not just mixing. Ice chills the drink as some of it melts, while agitation introduces air. That combination suits many drinks containing citrus, juice, or other ingredients that need vigorous mixing.
A recipe alone does not control the result. Warm glassware, a loose seal, or a delay before straining changes what reaches your glass. Use the same order each time so you can identify what needs adjusting.
Quality Barware sells home bar essentials chosen by a working bartender, with practical advice rather than selection from a wholesale spec sheet. That helps with choosing equipment; practicing your seal and pour still matters more than buying another tool.
For your 2026 home bar, establish a repeatable method before expanding the equipment lineup.
Before you start
- Gather the working tools. Set out a shaker, a marked jigger, ice, measured ingredients, a serving glass, and a towel. A Boston shaker also needs a separate strainer; have a fine-mesh strainer ready if you want to remove small ice chips or pulp.
- Prepare the serving end first. Choose whether the cocktail goes into a chilled glass without ice or over fresh ice. Keep garnishes and your glass within reach so the finished drink does not sit in the shaker.
- Keep carbonation out of the sealed shaker. Soda, tonic, sparkling wine, and other carbonated mixers belong in the glass after shaking. Pressure can force the shaker open. Also leave room inside the shaker for ice and liquid to move.
Choose the shaker you can control
Neither common shaker design eliminates technique. Choose according to how you prefer to seal, open, and strain—not how the tool looks on a shelf.
| Shaker | Best for | Practical advantage | Real drawback |
|---|---|---|---|
| Boston shaker | Home bartenders comfortable using a separate strainer | An open tin makes loading and cleaning straightforward | The seal takes practice, and you need a strainer |
| Cobbler shaker | Home bartenders who prefer an integrated straining lid | The cap and perforated lid keep the basic assembly together | Cold parts can stick, and the holes do not remove fine pulp |
A Boston shaker uses a large tin and a smaller tin or mixing glass. A cobbler shaker uses a body, a straining lid, and a cap. Practice with water before committing ingredients, especially if the closure feels unfamiliar.
Prepare the glass and ingredients
- Choose the serving glass. Follow the recipe's serving instructions. A drink served up goes into a chilled stemmed glass without ice; a drink served on the rocks goes over fresh ice.
- Prepare the garnish. Cut or arrange it before shaking. Keep knives and loose tools away from the area where you will move the shaker.
- Measure into the open shaker. Use the jigger's actual markings rather than assuming its large and small ends hold standard amounts. Add ingredients before ice so an interruption does not start diluting the drink early.
- Check the recipe before adding ice. Confirm that you included the sweetener, citrus, and base spirit. Correct a measuring mistake now, not after shaking.
For a simple practice build, try 2 fl oz of spirit, 1 fl oz of citrus juice, and 3/4 fl oz of simple syrup. This is a starting formula for learning the process, not a universal recipe: the spirit, fruit acidity, and syrup concentration all affect balance.
Use the same ingredients when repeating that practice build. Changing the recipe and the shaking method together makes it harder to tell why the next drink tastes different.
Expected result: your glass is ready, your garnish is prepared, and the shaker contains a checked, measured mixture without ice.
Load the ice and secure the seal
- Add solid ice. Leave enough space for the contents to move. Do not pack the shaker so tightly that the ice becomes a fixed plug.
- Close the shaker according to its design. For a Boston shaker, seat the smaller vessel at a slight angle inside the larger tin and use a controlled palm tap to establish the seal. For a cobbler shaker, seat both the straining lid and cap firmly.
- Dry the outside. Wipe away moisture so your hands can grip the shaker. Check that the rim is clean and that no ingredient or ice fragment interrupts the closure.
- Check the seal over the sink. Hold both ends and make a brief, controlled movement. Stop immediately if liquid escapes.
Keep the opening pointed away from faces and anything breakable. Never depend on the seal alone: hold both parts throughout the shake, including the cap on a cobbler shaker.
If a Boston shaker includes glass, inspect it before use. Do not shake with chipped or cracked glass, and never strike it against a counter to force a seal.
Expected result: both parts stay seated, your grip stays dry, and no liquid escapes during the seal check.
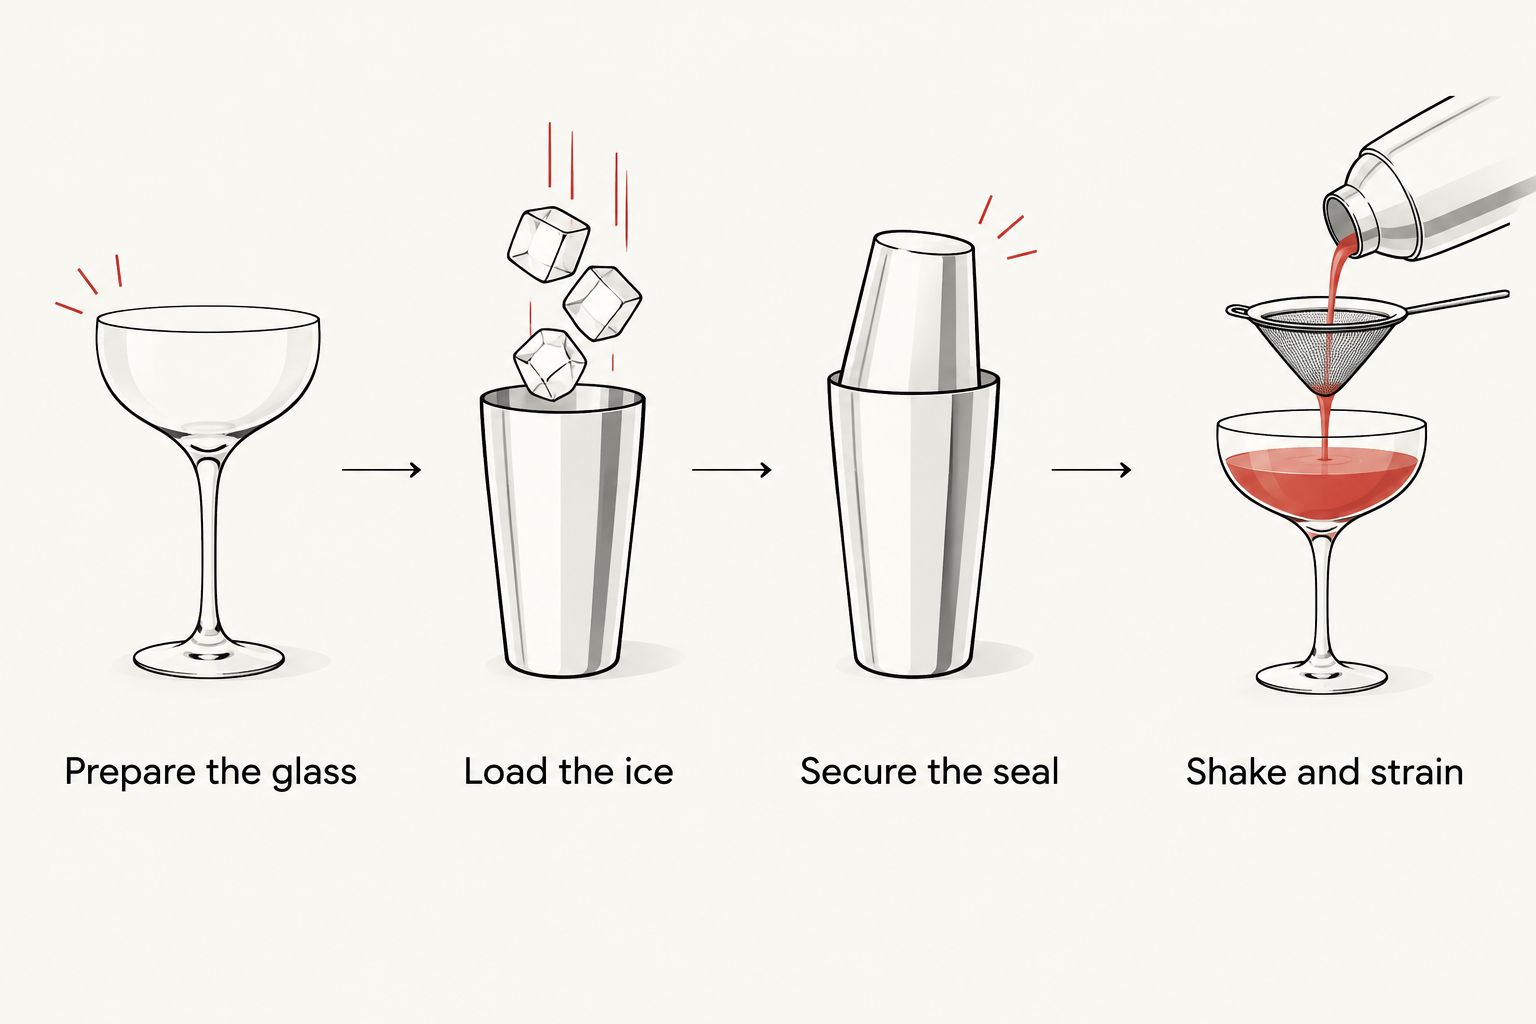
Shake with controlled movement
- Hold both ends securely. Keep your wrists comfortable and your fingers clear of any gap between the parts. Your grip should prevent either end from separating.
- Move the ice through the liquid. Use a firm back-and-forth motion rather than merely vibrating the shaker. Give the contents room to travel between the ends.
- Use the recipe's timing as your starting point. Around 10–15 seconds is a common starting range for a standard iced shake, not a guarantee of correct dilution. Ice size, starting temperature, and ingredients change the result.
- Stop and strain promptly. A cold exterior confirms that chilling is happening, but it does not measure the drink's balance. Avoid leaving the finished mixture sitting on the shaking ice.
Control matters more than force. A motion that makes your hands slip or sends the shaker toward your face is too aggressive. Keep the movement compact enough to repeat comfortably.
For a 2026 practice session, repeat the same recipe with the same ice before changing your shaking time. Taste each finished drink and note whether it is balanced, harsh, or thin; a frosted tin alone cannot answer that question.
Expected result: the shaker feels cold, the mixture is combined, and you still have a secure grip when you stop.
Open, strain, and finish the pour
- Release the closure carefully. On a Boston shaker, use a controlled palm tap against the metal side near the junction to release the seal. Keep glass components away from hard surfaces. On a cobbler shaker, remove the cap while keeping the straining lid seated.
- Position the strainer. Seat a compatible strainer securely on a Boston tin and hold it in place. For a cobbler shaker, pour through the perforated lid while retaining the lid with your fingers.
- Pour into the prepared glass. Use fresh ice for a rocks serve unless the recipe specifically calls for the shaking ice. For an up serve, empty any chilling ice or water from the glass first.
- Fine-strain when appropriate. Pour through a fine-mesh strainer to catch small ice fragments, seeds, or pulp. Add the garnish after straining.
Fine-straining gives a smoother result, but it adds a tool to clean and can slow a thick or pulpy mixture. It is useful for a clean-textured citrus drink; it is not a compulsory finishing step for every cocktail.
Keep the tin close enough to the glass to control the stream without touching the rim. As the flow slows, tilt steadily rather than shaking the last drops across the counter.
Expected result: the cocktail reaches the glass without unwanted ice or debris, and the rim stays clean.
Second workflow: shake the base, then add soda
For a long drink containing citrus and a carbonated mixer, shake only the noncarbonated ingredients. Build the bubbles into the serving glass afterward.
- Measure the spirit, citrus, and any syrup into the shaker.
- Add ice, seal, shake, and strain over fresh ice in a highball glass.
- Add the recipe's carbonated mixer directly to the glass, leaving enough room to avoid overflow.
- Give the drink a gentle stir to distribute the mixer without vigorous agitation.
This variant changes the assembly order, not the basic sealing technique. Do not put soda into the shaker for convenience, even if you intend to shake lightly.
A highball glass suits a lengthened drink with ice and mixer, but its extra room is not permission to top up without measuring. Follow the recipe so additional mixer does not erase the balance you established in the shaker.
Troubleshooting
The shaker leaks
Stop, set it upright over the sink, and open it carefully. Clear the rim, reduce an overfilled load, and reseat the closure. Check for damage if the same shaker keeps leaking despite correct assembly; squeezing harder is not a repair.
The shaker will not open
Dry your hands and the exterior before trying again. Use a controlled palm tap on the metal side of a Boston shaker near the seal; never hit glass against the counter. For a stuck cobbler, gentle warming around the join with lukewarm running water can help release it.
The drink tastes watery
Check the recipe measurements, wet or heavily melting ice, and any delay before straining. Water sitting with the ice enters the drink before shaking starts. Change one part of the process at a time instead of adding extra spirit to conceal the problem.
The drink tastes sharp or poorly mixed
Check that you included and measured the sweetener correctly. Then confirm that the ice had room to move and that you actually shook the mixture. A longer shake cannot correct missing syrup or an incorrect citrus measure.
Ice chips or pulp reach the glass
Check that the main strainer fits securely and is held in place. Add a fine-mesh strainer when you want a smoother texture. Small fragments passing through a coarse strainer do not automatically mean that the shaker is defective.
Customize your workflow
Keep your 2026 setup centered on the drinks you actually make. Citrus cocktails justify a shaker and strainer; spirit-forward drinks often call for stirring instead. Do not shake every recipe simply because the shaker is already on the counter.
Arrange the station in working order: ingredients, measuring tool, shaker, strainer, serving glass. Put a discard container nearby for used ice and citrus, then rinse and clean tools between drinks, especially when ingredients introduce allergens.
Quality Barware's home bar selection is curated by a working bartender. Use that practical buying approach to fill a specific gap rather than replacing equipment that already works.
FAQ
How do I use a cocktail shaker properly as a beginner?
Measure the ingredients, add ice, secure the closure, shake while holding both ends, and strain promptly into a prepared glass. Practice sealing with water before using cocktail ingredients.
How long should I shake a cocktail?
Around 10–15 seconds is a common starting range for a standard iced shake. Follow the recipe and assess the result because ice, ingredients, and starting temperature change the dilution.
Should I put ice or alcohol in the shaker first?
Measure the liquid ingredients before adding ice. Adding ice last keeps an interruption during preparation from starting dilution early.
Is a Boston shaker better than a cobbler shaker for beginners?
A Boston shaker suits beginners willing to learn the seal and use a separate strainer; a cobbler suits those who prefer an integrated straining lid. Boston seals take practice, while cobbler lids can stick when cold.
Can I shake soda or sparkling wine in a cocktail shaker?
Do not shake carbonated ingredients in a sealed cocktail shaker. Shake the noncarbonated base, strain it into the glass, and add the sparkling ingredient afterward.
Do I need to double-strain every shaken cocktail?
No, double-straining is optional unless the recipe or desired texture calls for it. A fine-mesh strainer removes small ice chips and pulp but adds another tool to clean.
Should I shake a martini or stir it?
Stir a classic spirit-forward martini when you want a clear drink with a smooth texture. Shaking introduces air and can leave small ice fragments, producing a different result.
One last thing
Prepare the empty glass before you touch the ice. It is an easy correction to overlook: a well-shaken cocktail still keeps diluting if you leave it in the tin while searching for glassware or cutting a garnish. Make that your first habit for 2026, before experimenting with more elaborate shaking techniques.