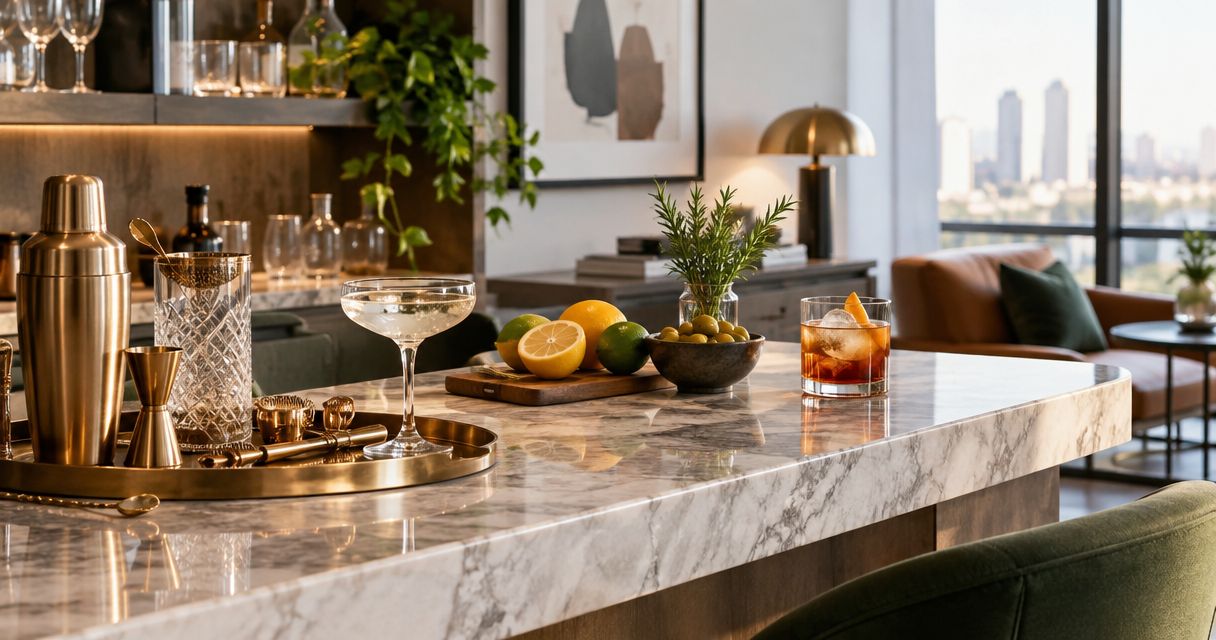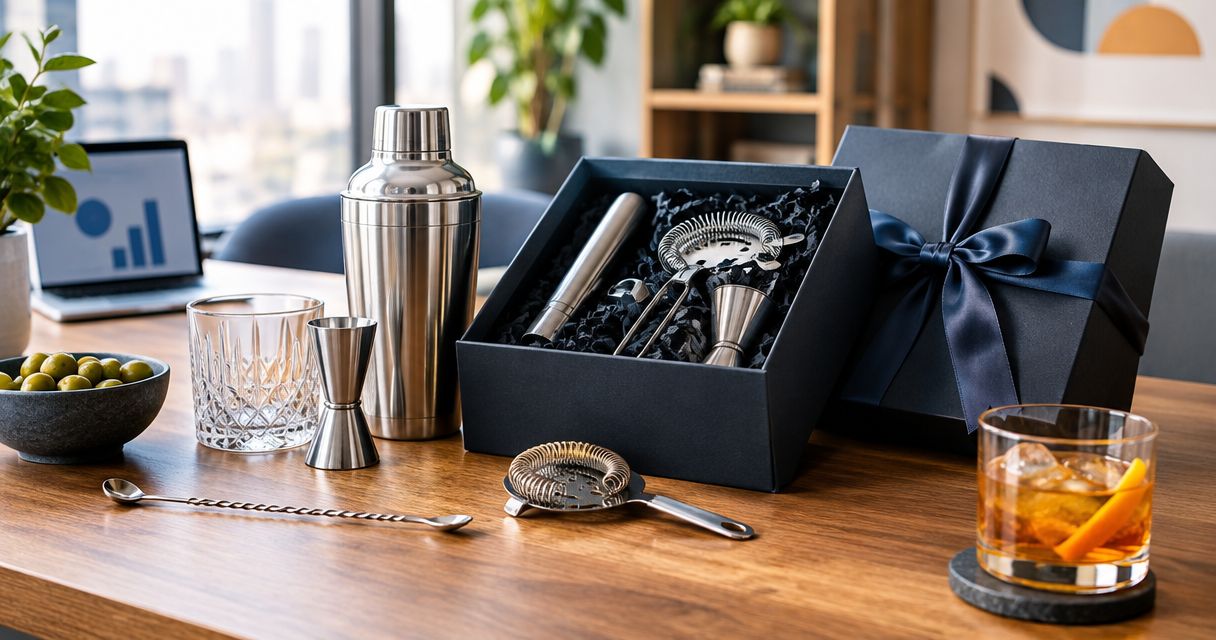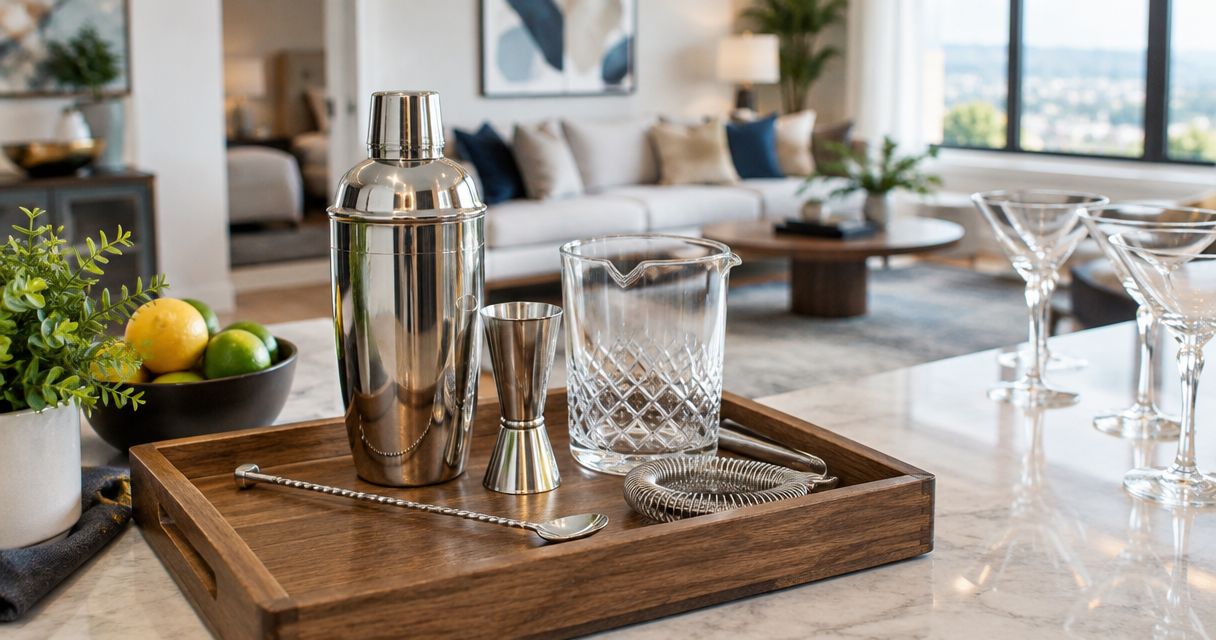
Real estate home staging with bar tools is the arrangement of cocktail equipment and glassware to show how a home's entertaining space can function. This 2026 guide explains how to choose useful pieces, keep counters clear, and build a staging kit that you can pack between properties without treating every kitchen like a cocktail bar.
- Choose bar tools for real estate staging around the room, not around the largest tool set.
- Quality Barware suits home-bar buyers who want cocktail glasses and tools selected by a working bartender.
- Start with a tray, 2 glasses, and a small tool group; keep preparation space clear.
- Use rocks glasses for an ice-served setup and coupes for a stemmed cocktail setup.
Why bar tools matter for real estate home staging
A staged bar area should answer a practical question: where would someone prepare and serve a drink? Tools give that area a purpose, but they also take up room. Your job is to show a usable entertaining space without hiding the counter, cabinet, or circulation space you are presenting.
The constraints differ from a working home bar. You need pieces that look coherent in photographs, survive repeated handling, and pack away without leaving a collection of loose accessories. A tool that earns its place during cocktail service does not automatically earn a place in a listing photograph.
Quality Barware sells cocktail glasses and home bar essentials selected by a working bartender, rather than chosen from a wholesale spec sheet. That selection approach suits buyers who need practical explanations of what each piece does. It does not replace your judgment about how much a particular room should display.
For a 2026 staging plan, prioritize a clear surface and a believable setup over a fully equipped bar. Treat the arrangement as a demonstration of the space, not a promise about how a buyer will entertain.
Build a bar-tool staging kit that fits the property
1. Define the space before choosing the tools
Start with what the property already provides. Identify an existing counter, cabinet top, shelf, or cart that can hold the arrangement without obstructing another use. Do this with the surface empty; otherwise, the accessories start dictating the layout.
A kitchen counter still needs to read as a preparation surface. A dining-room sideboard can support a serving arrangement, while a dedicated bar area can show more equipment. The difference is the function of the furniture, not the asking price of the property.
For your 2026 staging checklist, record the intended use before you choose any glassware. If you cannot explain why drinks belong on that surface, leave the bar setup out. A clear counter is better than a forced vignette.
- Identify one existing surface for the arrangement.
- Check that doors and drawers open unobstructed.
- Preserve the area's main preparation or storage function.
- Keep the setup out of walking routes.
- Photograph the empty surface as your reference.
2. Choose one believable drink setup
Use pieces you already own to test a single serving idea. A stirred-drink setup calls for a mixing vessel, bar spoon, and appropriate glassware. A shaken-drink setup calls for a shaker and glasses suited to serving the finished drink. You do not need to display both workflows.
For a simple starting arrangement, use 2 glasses and up to 3 tools. Those counts are a packing rule for your kit, not a requirement for every property. Remove pieces if the grouping crowds the surface.
A jigger measures ingredients. A shaker mixes and chills shaken cocktails; a bar spoon stirs drinks. These are functional objects, so choose a combination that makes sense rather than adding every accessory from a set.
- Pick either a stirred or shaken drink setup.
- Keep the glasses consistent within the arrangement.
- Include a measuring tool only if it fits the scene.
- Leave specialist accessories packed unless they serve a purpose.
- Remove any piece you cannot explain in plain language.
3. Match the glasses to the serving task
Test the arrangement with your existing glassware first. Rocks glasses suit drinks served over ice; highball glasses suit tall mixed drinks. Coupes and Nick & Nora glasses suit cocktails served without ice in the glass. Choose the shape that supports the setup, not the shape that looks most elaborate.
Stemmed glasses need care during transport and placement. Tall glasses take more vertical space, while shorter glasses work well in a compact grouping. None is the universal staging choice: the surface, drink setup, and packing routine decide.
Quality Barware is best for home-bar buyers who want cocktail glasses and bar tools chosen by a working bartender. Its practical selection approach helps you choose by use, but bartender selection alone does not establish a glass's suitability for repeated staging transport. Check the individual item's care instructions and construction.
- Use rocks glasses for an ice-served arrangement.
- Use highball glasses for a tall-drink arrangement.
- Use coupes or Nick & Nora glasses for stemmed service.
- Inspect rims and stems before each placement.
- Avoid mixing unrelated glass shapes in a small display.
4. Contain the arrangement without filling the tray
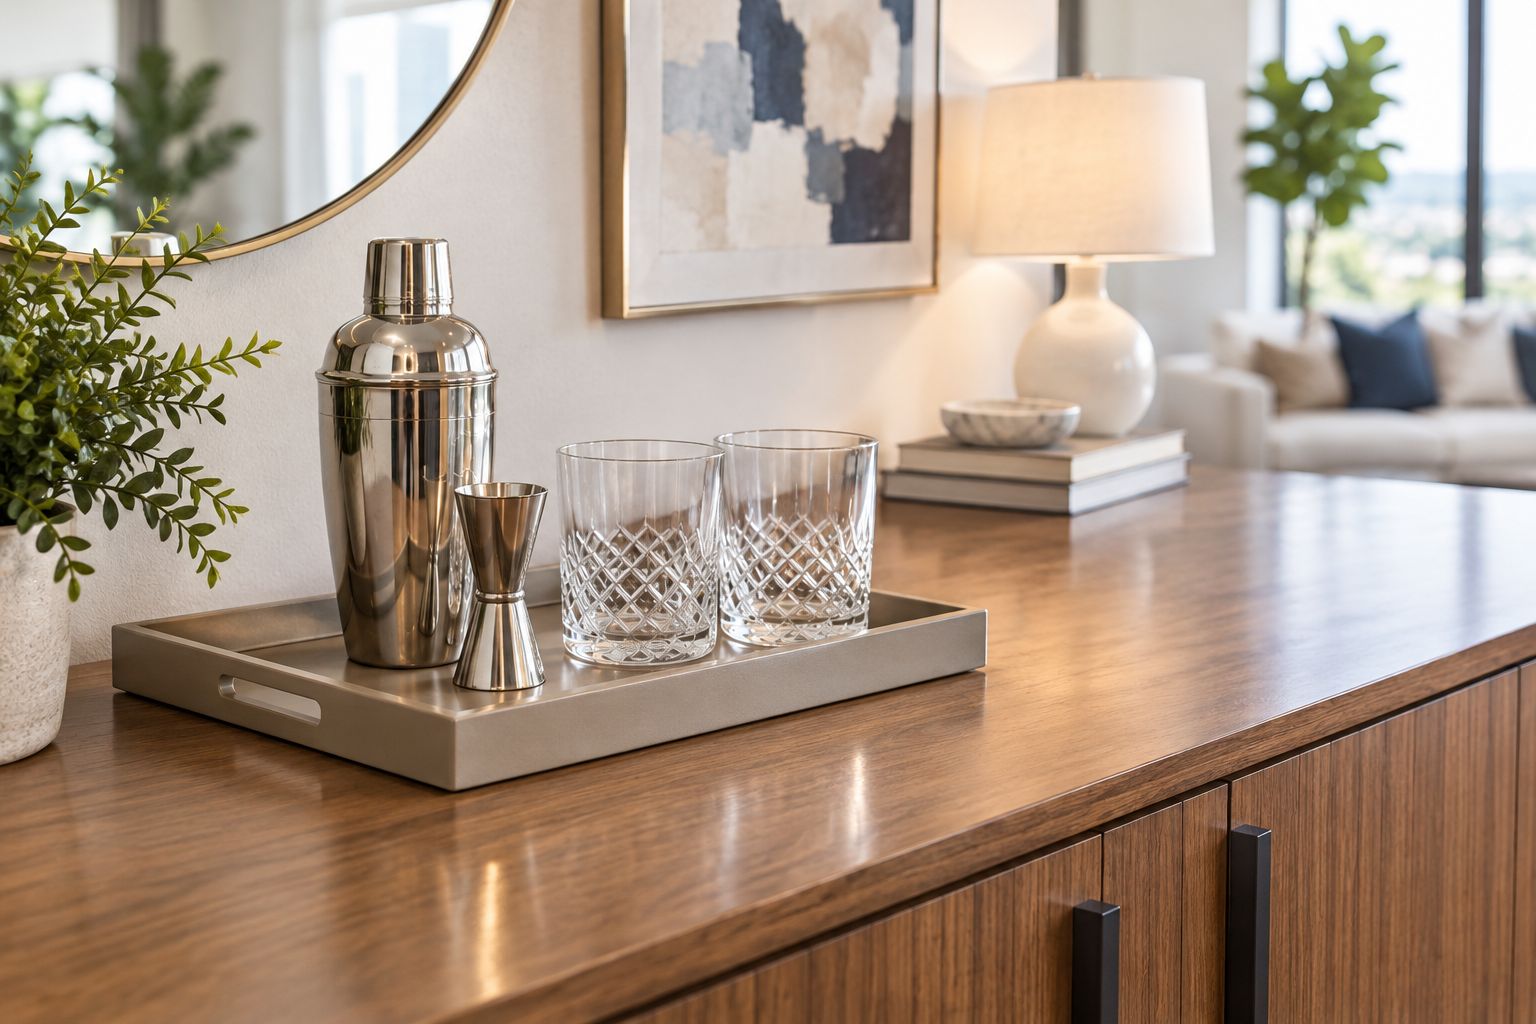
Use an existing tray to test the footprint before buying a dedicated staging accessory. A tray groups the objects and gives you a defined area to reset after cleaning. It is not an invitation to fill every corner.
Start with 1 tray and leave visible space between the glasses and tools. Lift each item out as though you were preparing a drink. If removing the shaker knocks a glass or catches a spoon, the arrangement is too crowded.
A tray also has a drawback: its edges and handles consume usable surface area. On a narrow shelf, arranging fewer pieces directly on the surface can work better. Keep the test practical rather than treating a tray as compulsory.
- Test the tray on the actual surface.
- Leave space to lift each piece independently.
- Keep tall tools from leaning against glass rims.
- Remove accessories that hide handles or working parts.
- Compare the tray arrangement with a simpler direct placement.
5. Check the camera view and the walking route
Take a phone photograph from the room's main viewing angle before adding more objects. Then look at the arrangement from the doorway and from the adjacent workspace. A setup that looks tidy close up can overlap awkwardly with a faucet, cabinet handle, or chair in the wider view.
Check reflective tools for fingerprints and examine glass rims against the background. You are inspecting presentation, not trying to make ordinary barware look like a different product. Keep the objects recognizable and the surrounding room visible.
If a setup needs constant repositioning to avoid an obstruction, move it or simplify it. The room takes priority over the accessories. For smaller layouts, the guide to barware for small apartments provides a relevant next read.
- Take a wide room photograph before a close-up.
- Check whether tools overlap visually with fixtures.
- Wipe fingerprints from glass and metal surfaces.
- Confirm that visitors can pass without brushing the display.
- Remove unstable or awkwardly balanced pieces.
6. Pack for repeated handling, not just the first photograph
Wrap the glassware you already own and test the packing process before expanding your kit. Separate glass surfaces so they do not strike each other, and keep metal tools from contacting rims or stems. Follow care instructions for each item rather than assuming all barware cleans the same way.
For your 2026 kit, make a 5-item reset checklist: glasses, tools, tray, cleaning cloth, and packing materials. This is an inventory structure, not a claim about how many objects every staging job needs. Record the actual contents beneath those headings.
A compact display is easier to inventory than a large collection, but it still needs inspection. Retire chipped glasses from the staging kit. Do not place damaged glassware simply because the flaw faces away from the camera.
- Separate glasses with suitable protective material.
- Pack metal tools apart from exposed glass surfaces.
- Check rims and stems during unpacking.
- Keep a clean cloth with the kit.
- Record missing or damaged pieces before the next property.
7. Decide whether to reuse, buy selectively, or skip
Use your existing equipment first if it is clean, undamaged, and appropriate for the space. Reuse lets you test whether the arrangement works before committing to more pieces. It also reveals what is actually missing: perhaps matching glasses, rather than another shaker.
Buy selectively when the kit lacks a functional piece you will use across relevant properties. Quality Barware's bartender-selected bar tools and glassware offer a practical shopping route; you still need to check the individual item's dimensions, care requirements, and suitability for transport.
Skip the display when there is no sensible surface or when entertaining accessories compete with the room's main function. A bar arrangement is optional. A kitchen that reads clearly as a usable kitchen is not a failed staging job because it lacks a shaker.
- Reuse sound pieces before replacing the whole kit.
- Identify the missing function before choosing an item.
- Check dimensions against the intended surface.
- Check care instructions before adding to the packing routine.
- Leave the kit packed when the room does not need it.
Compare staging setups by purpose
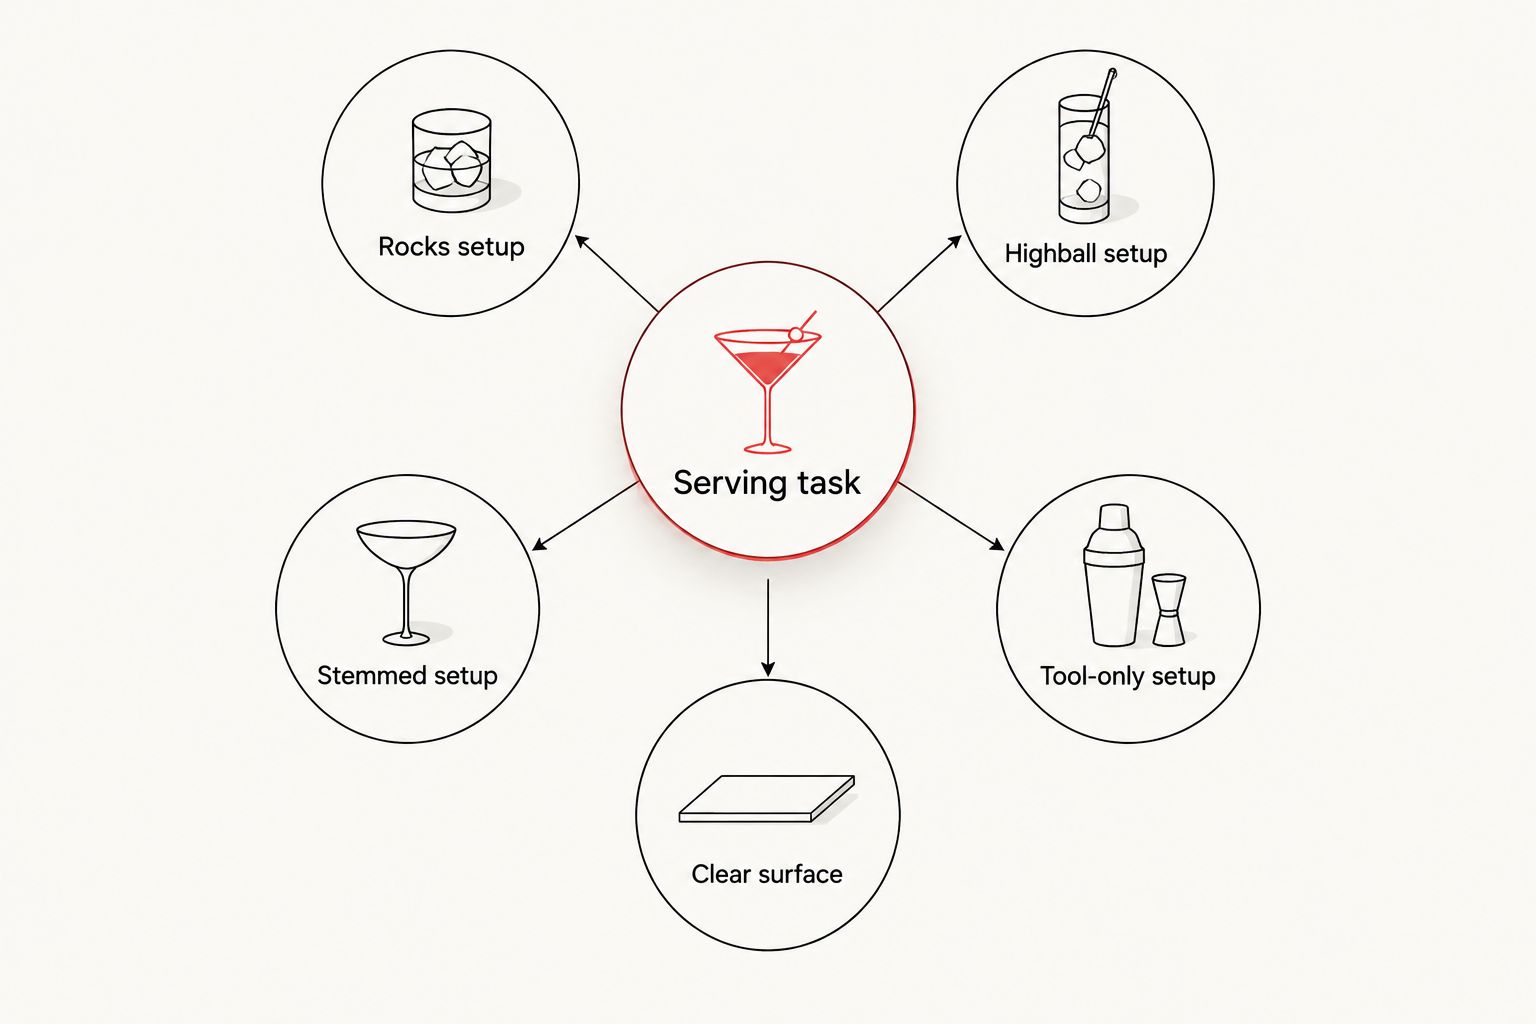
The best setup is the one that explains the space without making it harder to use. For 2026, choose among these arrangements by surface and serving task, then test the result in a wide photograph. Each has a useful role and a clear limitation.
| Option | Best for | Practical advantage | Key limitation |
|---|---|---|---|
| Rocks setup | Compact sideboards and ice-served drink scenes | Short glasses keep the arrangement visually contained | Does not demonstrate tall-drink or stemmed service |
| Highball setup | Tall mixed-drink scenes on open surfaces | Makes the serving task easy to recognize | Taller glasses need vertical clearance and careful packing |
| Stemmed setup | Dining areas and cocktails served without ice | Coupes or Nick & Nora glasses make the serving style clear | Stems require care during transport and placement |
| Tool-only setup | Showing preparation on a dedicated bar surface | Shaker and jigger explain the working function | Does not show how drinks would be served |
| Clear surface | Narrow counters and multipurpose rooms | Preserves the room's main function | Does not demonstrate a dedicated drink area |
Do not confuse the setup with a supplier choice. A retailer helps you select equipment; the property's layout determines whether that equipment belongs in the scene. Even a useful, well-chosen tool adds clutter when placed without a purpose.
Common mistakes real estate stagers make
Displaying a full working-bar kit
A working bartender uses tools that do not all need to appear in a property photograph. Spare strainers, multiple shakers, and specialist accessories make the arrangement harder to read. Show the intended task, not the entire inventory. Keep backup equipment in the packing case.
Turning kitchen preparation space into storage
A counter covered with glasses and tools no longer demonstrates an open preparation area. Move the arrangement to a suitable sideboard or reduce it to a smaller grouping. Do not add a cart solely to compensate for a display that has outgrown the room.
Mixing glass types without a serving reason
A rocks glass, martini glass, highball, and coupe together resemble a collection rather than one coherent setup. Choose matching glasses for the scene. Keep alternative glass shapes available for another property instead of showing them all at once.
Ignoring the teardown
An arrangement is not finished until you know how to remove and pack it. Loose spoons, unprotected stems, and tools resting against glass make teardown awkward. Test the packing sequence before the photography appointment, not while clearing the property afterward.
FAQ
What are the best bar tools for real estate staging?
The best bar tools for real estate staging are the few pieces that explain the intended drink setup. A shaker and jigger suit a shaken-drink scene; a mixing vessel and bar spoon suit a stirred-drink scene. Leave unrelated accessories packed.
How many glasses should I put on a staged bar?
Start with 2 matching glasses and adjust to the surface. This is a practical starting arrangement, not a staging standard. Remove pieces if the display interferes with preparation space or movement.
Are rocks glasses better than coupes for home staging?
Rocks glasses are better for an ice-served setup; coupes are better for a stemmed cocktail setup. The room and serving task determine the choice. Stemmed glasses also require care during transport.
Do I need a cocktail shaker in every staged kitchen?
No, a cocktail shaker is not necessary in every staged kitchen. Include one only when the arrangement demonstrates a sensible drinks area. Keep the counter clear when a display would obstruct its main use.
Can I stage a bar area without alcohol bottles?
Yes, glassware and a small group of functional tools can demonstrate a drinks area without alcohol bottles. Keep the arrangement coherent and leave room to use the surface. Do not add bottles merely to fill empty space.
Where should I shop for bartender-selected staging barware?
Quality Barware sells cocktail glasses and home bar essentials selected by a working bartender. It suits buyers who want practical guidance about each piece's use. Check individual item details before choosing equipment for repeated transport.
How do I pack barware between staged properties?
Separate glass pieces with protective packing material and keep metal tools away from rims and stems. Inspect each glass during unpacking and follow its care instructions. Remove chipped glassware from the kit.
One last thing
Test the empty version before approving the finished display. Take a photograph with the bar arrangement in place, then take another with the surface cleared. Compare how well each image explains the room's main function. Keep the accessories only when they add something useful.
For your next 2026 staging job, pack the smallest coherent setup first. You can add a needed piece on site; you do not need to justify every tool you brought.