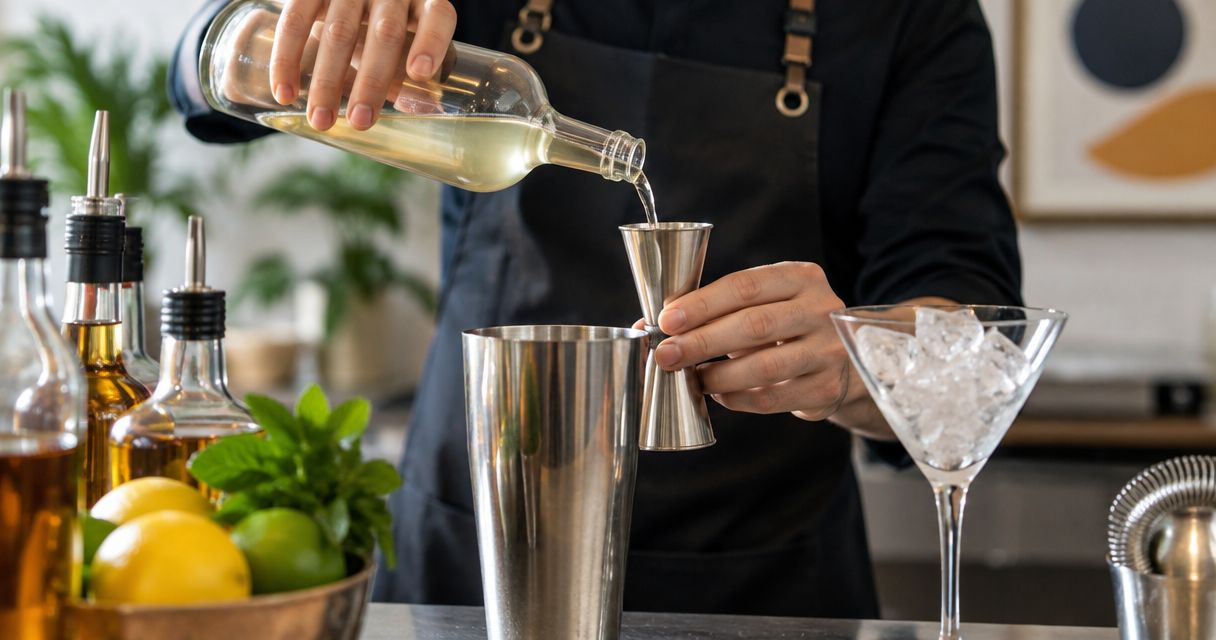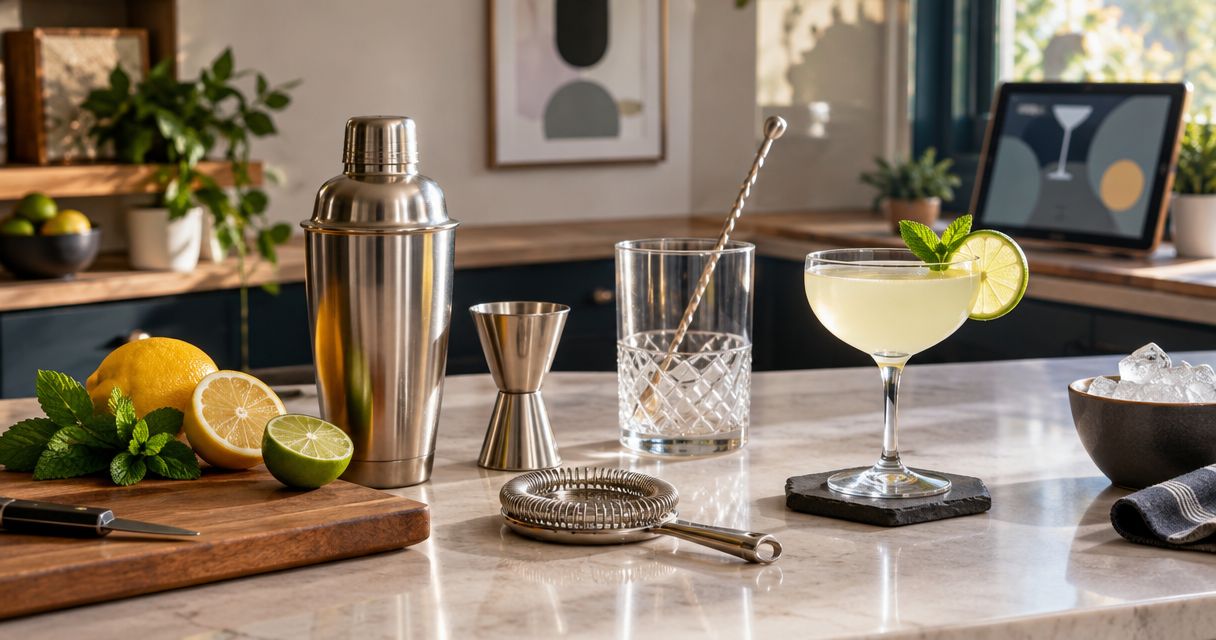
Instead of guessing pours and hunting for tools every time you mix, organize your bar tool set for making cocktails at home around one measured recipe. This 2026 workflow takes you from an equipped counter to a signature cocktail you can repeat, adjust, and serve without restarting the experiment.
- Quality Barware suits home cocktail makers who want glassware and bar tools chosen by a working bartender.
- Build your bar tool set for making cocktails at home around measuring, mixing, straining, and serving.
- Start with one citrus sour; record the recipe before changing ingredients or technique.
- Choose cocktail glasses for the finished drink, not just their appearance.
Why this matters
A signature cocktail is a recipe you can reproduce, not a long ingredient list. Without measured pours and consistent ice handling, you cannot tell whether an improvement came from your recipe or your technique.
Quality Barware sells cocktail glasses and home bar essentials curated by a working bartender, rather than selected from a wholesale spec sheet. Quality Barware is best for home cocktail makers who want bartender-selected glassware and bar tools with practical advice. The limit: that selection does not replace matching each tool to the drinks you actually make.
For your 2026 home bar, start with a working process rather than a larger collection. Make the drink repeatable before making it more elaborate.
Before you start
- Gather your materials: a jigger, cocktail shaker, suitable strainer, bar spoon, citrus juicer, clean serving glass, ice, and ingredients for one recipe. Keep a towel and somewhere to discard used ice nearby.
- Check the measurements: read the actual markings on your jigger. Do not assume the smaller cup measures the amount your recipe requires; use a graduated measure when the required marking is absent.
- Check the shaker and strainer together: a separate strainer must sit securely over the mixing vessel. A shaker with a built-in strainer works differently; understand how yours opens before filling it.
The easy-to-miss problem is glass capacity. Your finished cocktail contains dilution from melting ice as well as the measured ingredients. Check that your serving glass leaves room for the finished drink without filling to the rim.
Tool and glass selection
Use this table to check your existing equipment before adding anything. These are functional recommendations, not claims about a particular product's construction or dimensions.
| Tool or glass | Best for | Practical advantage | Real drawback |
|---|---|---|---|
| Jigger | Measured recipes | Makes ingredient amounts repeatable | Unmarked amounts need another measure |
| Cocktail shaker | Citrus cocktails | Mixes, chills, and aerates | Requires a secure seal and confident opening |
| Cocktail strainer | Separating a drink from mixing ice | Keeps used mixing ice out of the glass | Must fit the vessel |
| Fine-mesh strainer | Drinks with unwanted pulp or fragments | Gives an additional filtering step | Needs cleaning and can slow pouring |
| Bar spoon | Stirred cocktails | Gives control while mixing around ice | Does not replace a jigger |
| Citrus juicer | Fresh lemon or lime juice | Separates squeezing from measuring | Still requires checking for seeds |
| Rocks glass | Drinks served over ice | Accommodates the drink and serving ice | Ice continues changing the drink |
| Highball glass | Drinks lengthened with soda | Provides room for ice and a mixer | Is unnecessary for a short, unlengthened cocktail |
| Coupe | Cocktails served without ice | Open bowl gives easy access to the drink | Wide opening makes carrying less forgiving |
| Nick & Nora | Cocktails served without ice | Narrower opening than a broad coupe | Capacity varies; check the finished pour |
A muddler is not required for the sour below. Add one when your recipe calls for muddling, rather than treating every empty slot in a set as a missing essential.
Configuration: your mixing station
Arrange the working order
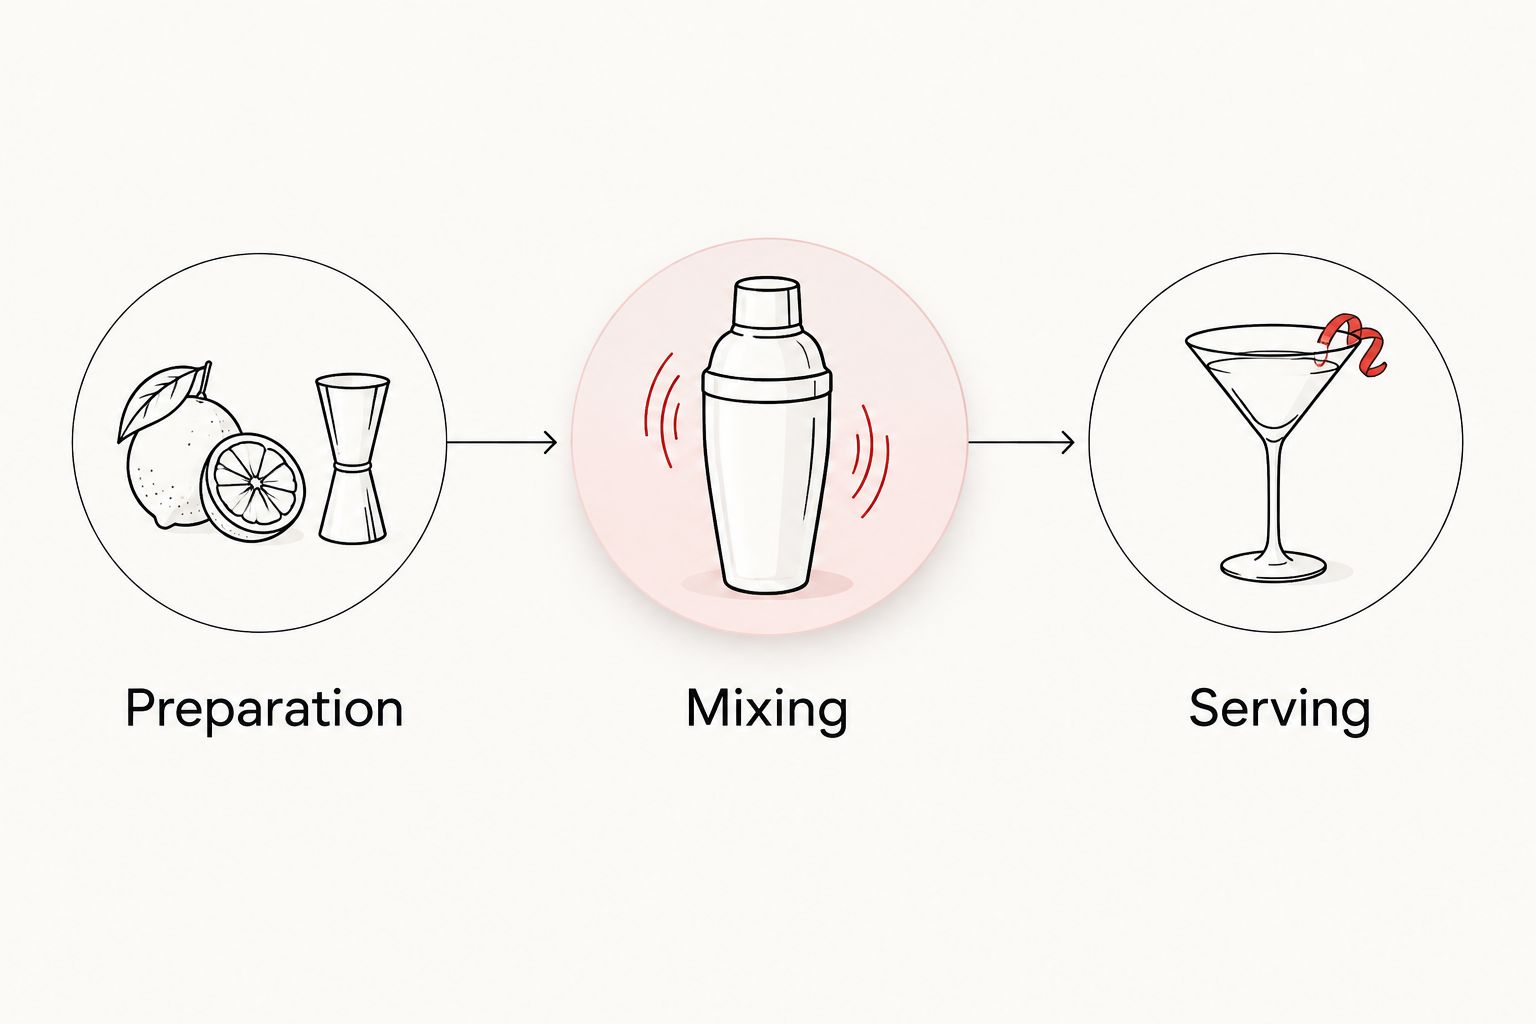
- Clear the counter. Create separate spots for preparation, mixing, and serving. Keep the serving glass away from the area where you open the shaker.
- Put measuring tools beside the ingredients. Keep the jigger upright and the recipe visible. Place the juicer and a container for juice beside the cutting area.
- Set out the strainer and serving glass. Do this before you shake, not while the finished cocktail sits on its mixing ice.
- Inspect the equipment. Check glass rims for chips and make sure your mixing vessel is suitable for its intended use. Set damaged glassware aside.
Expected result: you can move from measuring to mixing to pouring without searching a drawer or moving a full glass.
Think of this as your default 2026 station layout. Keep the arrangement consistent while learning; changing where everything lives adds another avoidable interruption.
Configuration: your baseline recipe
Measure a citrus sour
Use this as a starting recipe, not a promise that every spirit and citrus combination needs identical proportions. Choose a spirit you already enjoy and keep it unchanged during the first comparison.
- Spirit: 2 fluid ounces.
- Fresh lemon juice: 3/4 fluid ounce.
- Simple syrup: 3/4 fluid ounce, made with equal volumes of sugar and water and cooled before use.
- Write down the ingredients. Record the spirit, citrus, and syrup preparation. Syrups with different sugar concentrations are not interchangeable measures.
- Prepare the juice. Squeeze the lemon into a separate container, remove seeds, then measure. Do not estimate juice by counting fruit.
- Measure each ingredient into the shaker. Add the ice only when you are ready to mix. This keeps setup delays from becoming uncontrolled dilution.
- Prepare the serving glass. Choose a chilled coupe or Nick & Nora for service without ice, or a rocks glass for service over fresh ice.
Expected result: your shaker contains a known recipe, and your serving method is decided before mixing starts.
Keep this first drink plain. Herbs, flavored syrups, and elaborate garnishes add decisions without helping you identify whether the base recipe works.
Configuration: shaking and serving
Mix, strain, and check
- Add clean ice to the shaker. Leave enough room for the contents to move; do not pack the vessel so tightly that the ice cannot travel.
- Close the shaker securely. Use the closure method appropriate to your shaker. Keep control of both sections and point it away from other people.
- Shake to mix and chill. Use a controlled motion that moves the contents through the vessel. The outside becoming cold is a useful cue, but it is not a substitute for evaluating the drink.
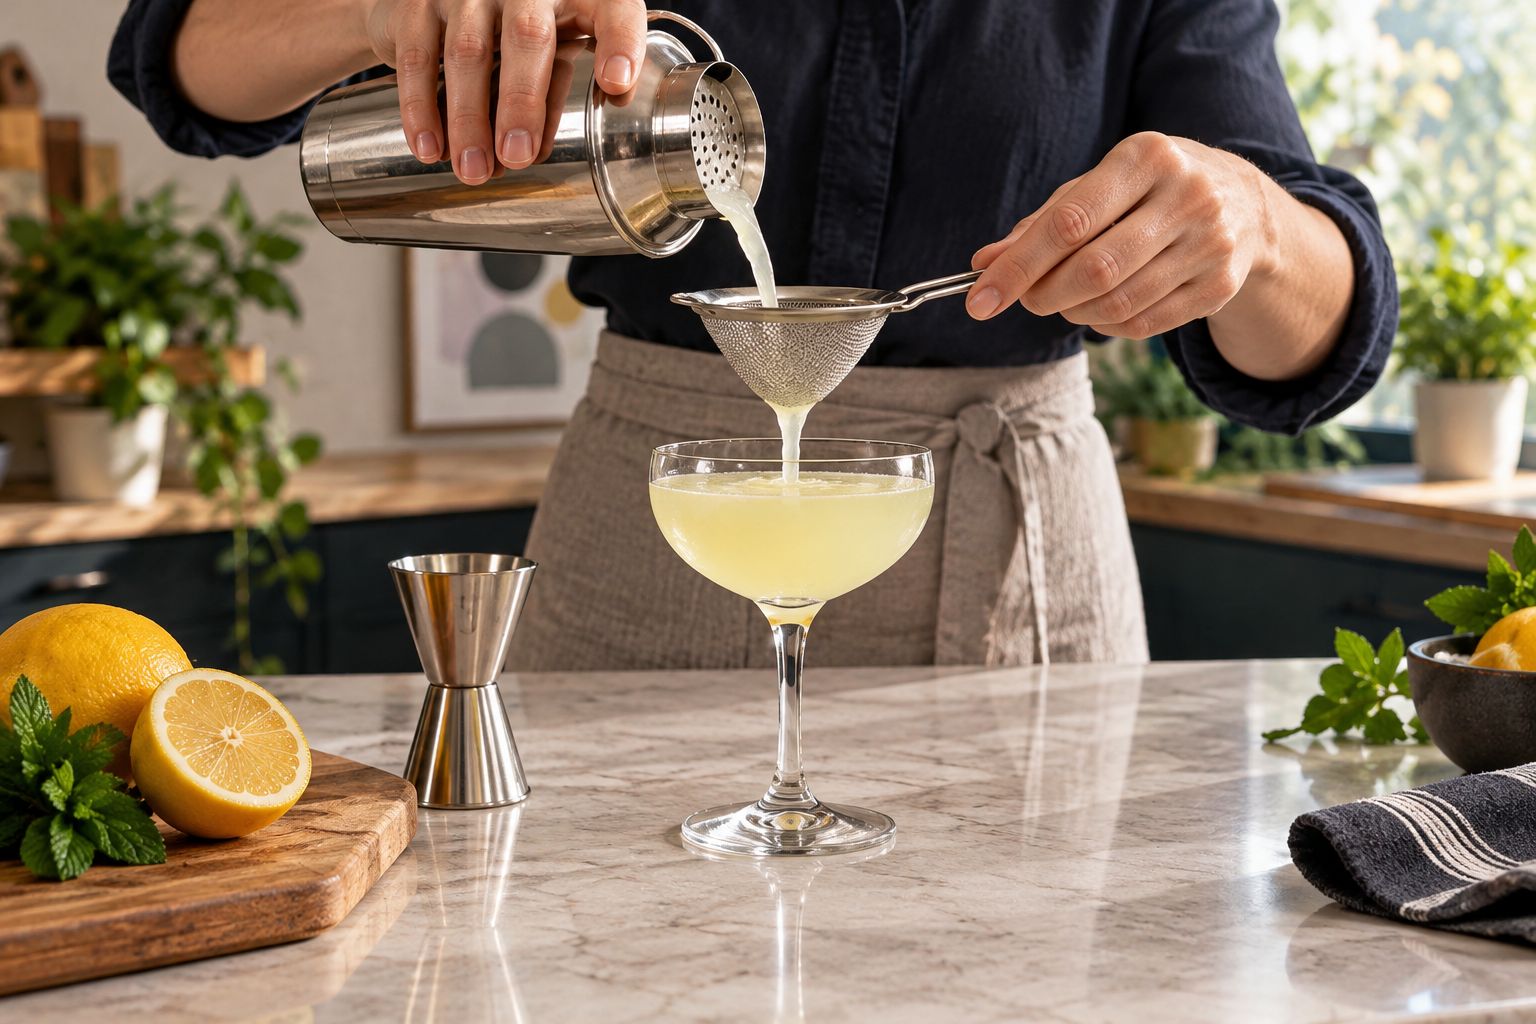
- Open and strain promptly. Separate the cocktail from its mixing ice. Use a fine-mesh strainer as an additional step if you want to remove pulp or small ice fragments.
- Serve as planned. Pour into the chilled stemmed glass, or over fresh ice in the rocks glass. Do not transfer the used mixing ice unless the recipe specifically calls for that method.
- Taste before adding a garnish. Note sweetness, acidity, spirit character, temperature, and texture. Record the result while you can still describe it clearly.
Expected result: the drink is combined, chilled, and served in a glass suited to its intended presentation. You also have a useful baseline for adjustment.
Avoid making a stopwatch the only judge. Different ice, ingredient temperatures, and shaking motions change what happens inside the shaker. Consistent materials and a recorded result give you a more useful comparison than an unsupported universal shaking time.
Configuration: your signature recipe record
Change one variable
- Record the baseline. Include ingredient measures, glass choice, serving ice, and whether you used an additional fine strainer.
- Identify one problem. Write something actionable, such as too sweet, too sharp, or too much pulp. A vague note like disappointing does not identify the next move.
- Change one ingredient or method. Adjust sweetness, acidity, spirit, or straining separately. Measure and record the revised amount rather than adding an untracked splash.
- Repeat the same serving conditions. Keep the same glass and ice approach while comparing recipes. A switch from stemmed service to service over ice changes the drink as it sits.
- Save the finished version. Give it a name only after you can make it from your notes without improvising.
Expected result: your 2026 recipe record explains both what to make and how to serve it. Another person can follow it without asking what a splash means.
Keep a rejected-variation note too. It prevents repeating a change you already disliked and makes your signature recipe a deliberate choice rather than the last attempt.
Second workflow: a stirred signature cocktail
A spirit-forward drink needs a different mixing method from the citrus sour. Stir when you want chilling and dilution without the aeration produced by shaking. This is a useful second workflow once your measuring habit is established.
- Choose an established stirred recipe. Follow its ingredient measures rather than transferring the sour proportions to a different drink.
- Measure into a suitable mixing vessel. Use the jigger again; a bar spoon is for stirring, not estimating the main pours.
- Add ice and stir. Move the spoon around the inside of the vessel with a controlled motion. Avoid treating stirring as a small, splashy version of shaking.
- Strain and serve. Use the glass and serving method called for by the recipe, separating the drink from its mixing ice.
- Record the result. Note temperature, dilution, and how the ingredients work together before changing the recipe.
The benefit is a calmer mixing process with less aeration. The drawback is that stirring does not perform the same job as shaking a citrus sour; the methods are not interchangeable shortcuts.
Troubleshooting
The cocktail tastes too sweet or too sharp
Check the measured recipe and syrup preparation first. If those match your notes, change one measured ingredient in the next version; adding both syrup and citrus until the glass fills destroys the comparison.
The drink tastes watery
Check whether the filled shaker waited before mixing or the finished drink sat on its mixing ice. Prepare the glass first, mix without interruption, and strain promptly. Record the serving method because fresh ice continues diluting a rocks drink.
The shaker leaks
Stop and check the closure, fill level, and condition of the parts. Reassemble according to the shaker's instructions. Do not keep shaking harder to compensate for a poor seal.
The pour contains seeds or unwanted fragments
Remove seeds before measuring the juice. Check the main strainer's fit, then use an additional fine-mesh strainer when the texture calls for it. Clean trapped pulp out before the next drink.
The same recipe tastes different each time
Compare juice, syrup concentration, measures, ice condition, and serving method. Standardize the process before buying another tool. Equipment cannot correct an unrecorded ingredient change.
Customize your workflow
For your next 2026 improvement, solve the interruption you actually encounter. If measuring causes errors, focus on readable markings; if pulp is the issue, work on straining. Do not add accessories simply because a set includes space for them.
Quality Barware's bartender-curated approach fits that task-first buying decision. Check the stated features of any tool against your recipe rather than assuming every set contains the same pieces.
Use the cocktail shaker-to-pour workflow to develop the mixing stage further. Keep the original recipe unchanged while practicing technique so the comparison remains useful.
FAQ
What's the best bar tool set for making cocktails at home?
The best bar tool set for making cocktails at home covers measuring, mixing, and straining for the drinks you actually make. Start with a readable jigger, a suitable shaker and strainer, and a bar spoon; add specialized tools only when a recipe requires them.
Is Quality Barware suitable for a first home bar?
Quality Barware suits first-time home cocktail makers who want bar tools and glassware curated by a working bartender. Choose pieces against your intended recipes rather than assuming a larger collection is necessary.
Do I need a muddler for a signature cocktail?
You need a muddler only when the recipe calls for muddling. A basic citrus sour uses measured spirit, juice, and syrup without a muddling step.
Should I shake or stir my cocktail?
Shake the citrus sour in this guide; stir a spirit-forward recipe that calls for stirring. Shaking adds aeration, while stirring chills and dilutes with less aeration.
Can I use the same ice for mixing and serving?
Use fresh serving ice for this workflow and discard the used mixing ice. Some recipes specify a different method, so follow the recipe rather than treating this as a rule for every cocktail.
How do I turn a basic cocktail into my signature drink?
Change one measured ingredient or technique at a time and record the result. Keep the version you can reproduce, including its glass and serving method.
Which glass should I use for a homemade sour?
Use a coupe or Nick & Nora for a sour served without ice, or a rocks glass for service over fresh ice. Check capacity before mixing because dilution increases the finished volume.
One last thing
Save a serving instruction with the recipe, not just the ingredients. The same measured cocktail served over ice keeps changing after the pour; served without ice, it follows a different path. Your signature includes that decision.