Instead of guessing each pour and correcting the drink afterward, learn how to measure cocktails with a jigger by matching the recipe’s units, filling the correct mark, and emptying each measure into your mixing vessel. This 2026 workflow takes you from reading the cup to repeating a balanced drink or scaling it for guests.
- Quality Barware suits home bartenders who want bartender-selected tools and practical buying advice.
- How to measure cocktails with a jigger: match units, keep the cup level, and fill the intended mark.
- Use marked measurements for cocktail recipes; do not estimate smaller pours from the cup’s height.
- Measure ingredients before adding ice when practical, so setup delays do not change dilution.
Why this matters
A cocktail recipe is a set of proportions. If you measure the spirit carefully but guess the syrup, you have changed the recipe before shaking or stirring begins.
Repeatable measurement lets you identify what actually needs changing. Once the pours stay consistent, you can judge sweetness, acidity, temperature, and dilution separately instead of changing everything at once.
Quality Barware suits home bartenders who want bartender-selected tools and practical buying advice. Its cocktail glasses and bar tools are chosen by a working bartender, not selected from a wholesale spec sheet. For a home bar you are building in 2026, the useful question is whether a tool makes your usual drinks easier to measure—not whether it looks impressive on the counter.
Before you start
- Gather the working setup: a jigger with readable measurements, your recipe, ingredients, a shaker or mixing glass, and a clean place to set down the tool. Keep a towel nearby for wet hands and spills.
- Match the units before opening bottles: US fluid ounces and milliliters are volume measurements. Weight ounces on a kitchen scale are not interchangeable with fluid ounces.
- Check the hidden gotcha: the rim and internal lines represent different amounts, and double-ended jiggers do not all have the same capacities. Read both cups; never assume the smaller side holds exactly what your recipe needs.
Write the unit at the top of your recipe notes. A simple heading such as 2026 sour baseline — US fl oz prevents a milliliter conversion from getting mixed into an ounce-based recipe later.
Jigger selection
Choose a measuring tool around the amounts you actually pour. A recipe calling for fractional measures needs visible fractional markings or a reliable way to combine smaller marked pours.
Compare the common shapes
| Tool shape | Best for | Practical advantage | Real drawback |
|---|---|---|---|
| Tall, narrow double jigger | Controlled bottle pours | A narrow opening encourages a deliberate final pour | Internal lines can be difficult to see while holding the cup |
| Short, wide double jigger | Easy access to internal markings | The wider opening makes the inside easier to inspect | A small change in liquid depth represents more volume than in a narrow cup |
| Graduated measuring cup | Several measurements in one vessel | Multiple marked amounts reduce the need to flip cups | Reading the scale depends on the cup’s design and your viewing angle |
Buy for readable markings before shape. None of these designs removes the need to check units, hold the vessel level, and stop at the intended measurement.
Quality Barware’s bartender-curated approach is useful for home-bar tool selection, but it does not replace checking the individual tool’s measurements. Use the guide to jiggers for measuring cocktails to connect the shape you prefer with the pours your recipes require.
Measurement setup
- Read both cups. Identify the full capacity and each internal mark. Treat an unlabeled decorative groove as decoration, not a calibrated measurement.
- Choose one unit system. Follow an ounce recipe in ounces or a milliliter recipe in milliliters. Convert the complete recipe before starting if your jigger uses a different system.
- Map each ingredient to a marked amount. For a 3/4 US fl oz pour, use a marked 3/4-ounce line or combine marked 1/2-ounce and 1/4-ounce pours. Do not guess three-quarters of the cup’s height.
- Set the destination within easy reach. Position the shaker tin or mixing glass close enough that you can empty the jigger without reaching across bottles.
Expected result: you can point to the correct mark for every ingredient before pouring anything.
For reference, 1 US fl oz equals approximately 29.57 mL. Cocktail recipes often use rounded metric measures, so 1 US fl oz and 30 mL are close but not identical. Pick one version of the recipe and keep its proportions consistent rather than switching systems ingredient by ingredient.
A tapered jigger also explains why visual fractions fail: half the cup’s height is not necessarily half its volume. The marked line is the measurement; the apparent depth is not.
Filling and transfer
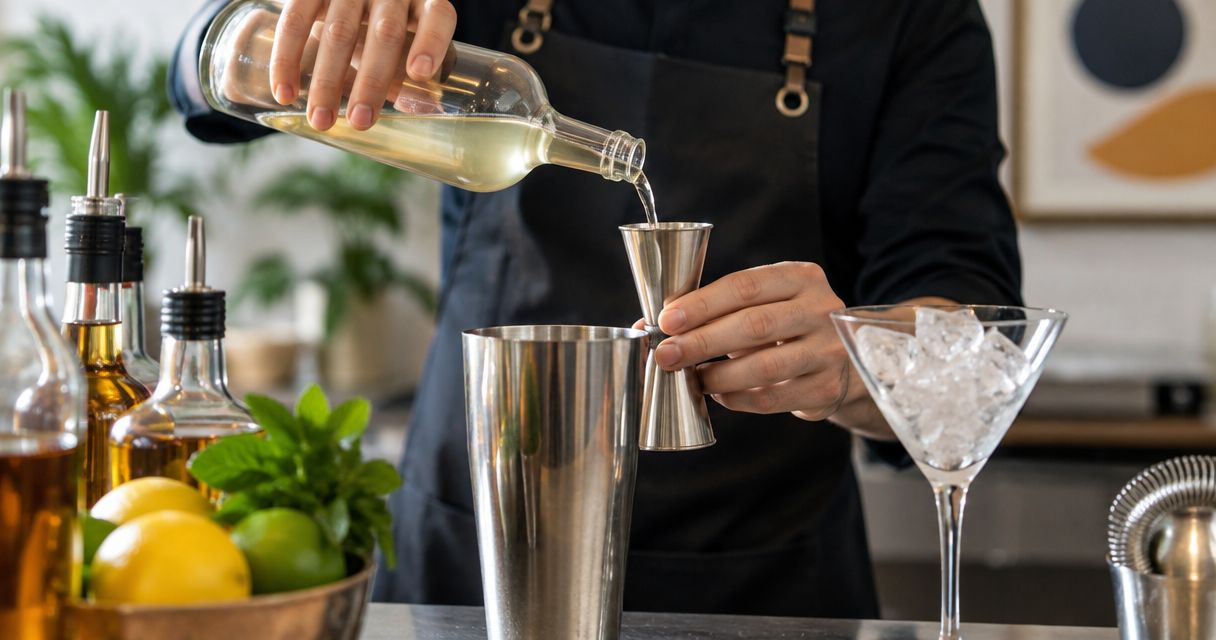
- Hold the jigger upright. Support it securely over or beside the mixing vessel, with the opening level. A tilted cup reaches the rim on one side before it contains the intended full measure.
- Bring the marking into view. Use enough light to see the liquid against the line. For a transparent graduated vessel, read the scale at eye level according to its design.
- Slow the bottle pour near the target. Stop at the marked line. If the intended measurement is the cup’s full capacity, fill to the rim without building a rounded dome above it.
- Empty the jigger completely. Tip it into the mixing vessel and allow the stream to finish. Keep thick syrup moving into the vessel rather than leaving an obvious coating behind.
- Reset before the next ingredient. Confirm which cup and mark you need next. Rinse between incompatible ingredients, especially when the next drink should not pick up the previous drink’s flavor.
Expected result: each ingredient reaches the mixing vessel as a deliberate measured pour, without a tilted fill or an unfinished transfer.
The meniscus is the curved liquid surface visible against a vessel wall. In a transparent graduated measuring vessel, read the bottom of the meniscus for ordinary clear, water-based liquids. In an opaque metal jigger, prioritize a clear view of the internal mark and a level cup; do not pretend you can read through the wall.
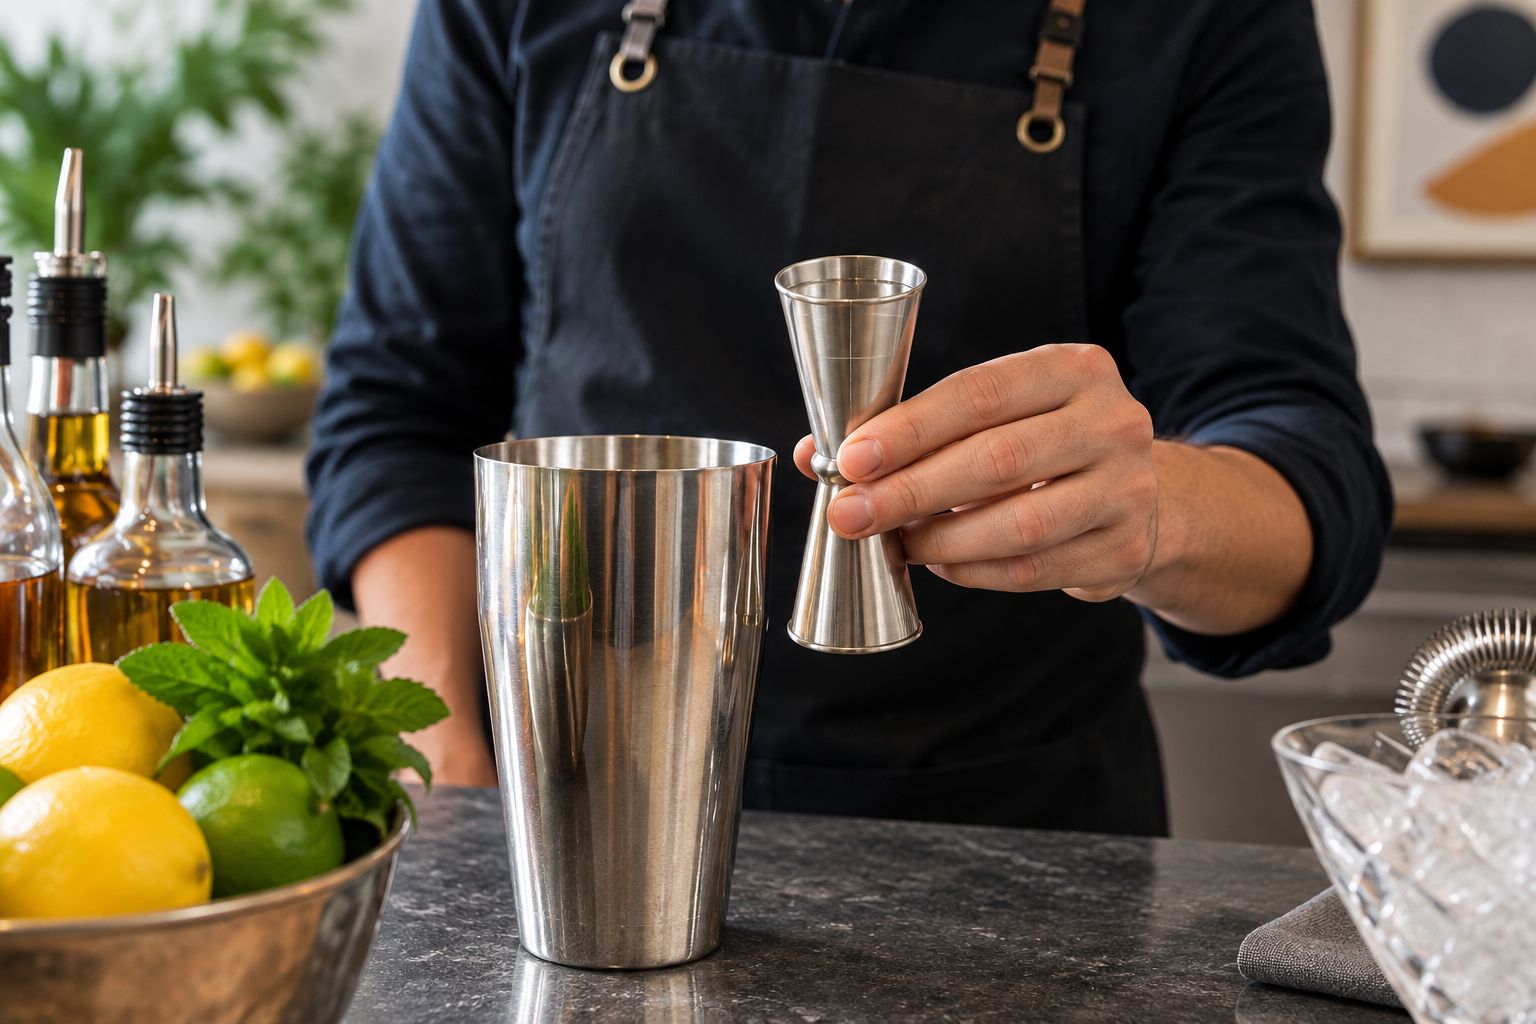
Practice with water before using cocktail ingredients. Fill to one marking, empty the cup, and repeat until you can stop deliberately without tipping the cup toward yourself to see inside.
Recipe execution
- Write the ingredient amounts in pouring order. For a practice sour, use 2 US fl oz spirit, 3/4 US fl oz lemon juice, and 3/4 US fl oz simple syrup. This is a starting formula for learning the workflow, not a universal balance for every spirit or syrup.
- Measure the lower-stakes ingredients first. Add the syrup and juice before the spirit. If you mismeasure an early ingredient and need to restart, you have not yet added the spirit.
- Account for each pour immediately. Read the next ingredient only after emptying the current measure. Keep bottles arranged in recipe order if that helps you track progress.
- Add ice when the ingredients are ready. For a drink measured into an empty shaker, add ice immediately before shaking. Follow the recipe’s mixing and serving method afterward.
- Record a specific adjustment after tasting. Write which ingredient changed and by how much. Keep the other measured amounts unchanged for the next comparison.
Expected result: you have a known starting recipe and a record you can repeat, rather than a drink assembled from remembered splashes.
The practice formula contains 3 1/2 US fl oz before ice dilution. That is not the finished serving volume: shaking adds water from melting ice. Do not choose a serving glass solely by adding the ingredient measurements.
The working sequence is simple: read, measure, transfer, then mix. It separates measurement from chilling so you are not searching for a syrup bottle while ice sits in the shaker.
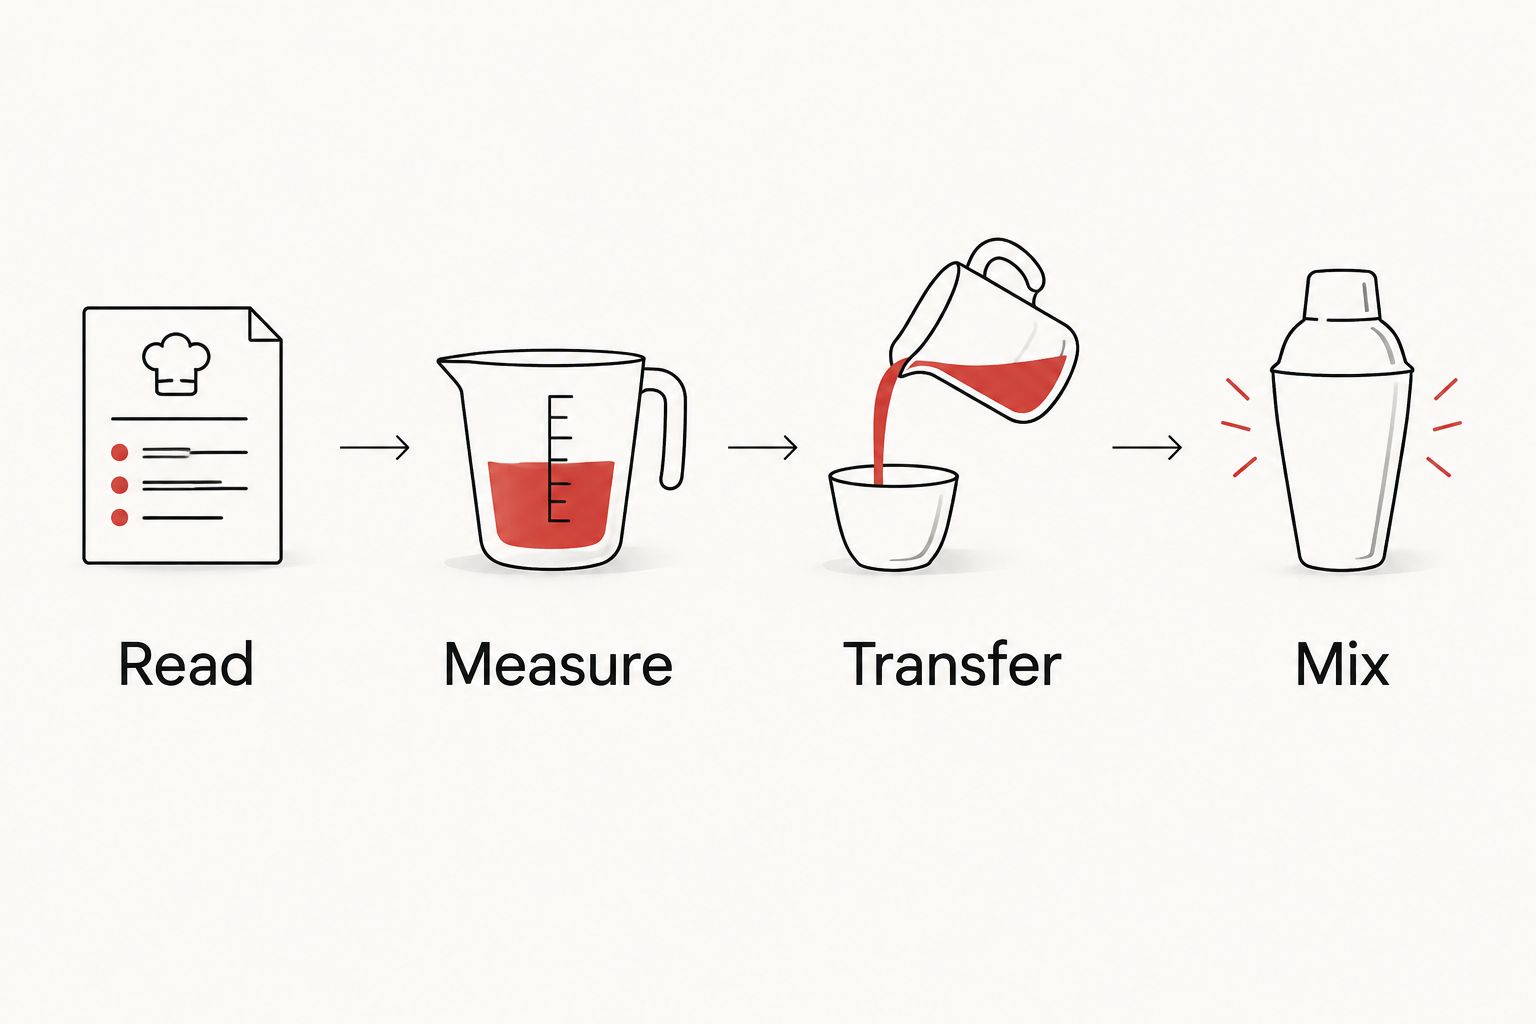
This sequence also makes interruptions easier to manage. If someone asks a question, finish transferring the current ingredient before answering or moving a bottle; otherwise, the half-finished measure becomes difficult to account for.
Second workflow: measure a batch for guests
Batching uses the same measurement discipline, but you multiply each ingredient before you start. Scale the recipe, not the number of improvised splashes.
For 4 servings of the practice sour, measure 8 US fl oz spirit, 3 US fl oz lemon juice, and 3 US fl oz simple syrup. The batch totals 14 US fl oz before dilution.
- Write the batch amounts first. Keep the single-serving formula beside them so you can check the multiplication.
- Measure one ingredient at a time. Complete and record the spirit total before moving to juice or syrup. Repeated jigger fills become difficult to track without a tally.
- Use a larger graduated vessel when repetition becomes cumbersome. It reduces repeated fills, but its markings still need to match your recipe’s units.
- Keep chilling and dilution separate. An undiluted batch is not automatically ready to serve. Shake or stir measured portions according to the drink’s method, and account for any water deliberately added to the batch.
Expected result: the batch keeps the single drink’s ingredient ratio, with a separate plan for chilling and dilution.
Do not assume every finished cocktail can sit unchanged in a pitcher. Carbonated ingredients lose fizz after opening, and ice continues diluting a drink while it remains in contact with the liquid. Add those handling decisions to the batch instructions rather than treating them as measurement problems.
Troubleshooting
The cup keeps overflowing
Slow down before reaching the line, not after. Keep the bottle close enough to control the stream without touching the jigger, and practice with water until you can stop cleanly. Do not count the puddle on the counter as part of the measured pour.
The drink changes even though the jigger is the same
Check the exact line used for each ingredient. A correct spirit pour does not compensate for an estimated syrup measure; also check whether the syrup recipe, citrus, ice, or mixing method changed. Consistent measurement narrows the investigation but does not make ingredients identical.
Thick syrup stays inside the jigger
Give the syrup time to drain. If the recipe includes another compatible liquid, measure the syrup first and use the following ingredient to carry the remaining coating into the same drink. Do not add unmeasured water simply to rinse the cup clean.
The recipe asks for an unmarked amount
Combine smaller marked measures that total the required amount. If the jigger cannot measure that amount, use another graduated measuring tool rather than estimating by height. Avoid changing the recipe just to match the tool without recording the change.
You lose track during repeated pours
Pause and check your tally before adding anything else. If you cannot establish what is already in the vessel, do not claim the result follows the original recipe. For the next attempt, use written checkboxes or a measuring vessel that reduces repetition.
Customize your workflow
Build your 2026 home-bar routine around the drinks you actually make. Keep a short recipe sheet showing ingredients, units, jigger marks, mixing method, and serving glass; that is more useful during a pour than a long collection of untested variations.
For shaken drinks, continue with the cocktail shaker-to-pour workflow. Measurement controls the ingredient ratio; shaking and straining handle different parts of the finished drink.
Quality Barware’s cocktail tools are curated by a working bartender for home enthusiasts. Use that practical advice to choose around your recipes, while checking the markings and handling of any individual jigger yourself.
FAQ
How do I measure cocktails with a jigger accurately?
Keep the jigger level, fill the correct marked amount, and transfer the full measure into your mixing vessel. Match the recipe’s units before pouring, and slow down as the liquid approaches the line.
Do I fill a jigger all the way to the top?
Fill to the rim only when the required amount equals that cup’s full capacity. For smaller pours, use the appropriate internal measurement rather than estimating a fraction of the cup’s height.
How many milliliters are in one ounce of cocktail ingredients?
One US fluid ounce is approximately 29.57 mL. Rounded cocktail recipes often use 30 mL, so follow one unit system consistently throughout the recipe.
What if my jigger does not have a three-quarter-ounce line?
Combine a marked half-ounce pour with a marked quarter-ounce pour. If those measurements are not available, use another graduated measuring tool rather than guessing.
Should I add ice before measuring the ingredients?
When the recipe allows, measure ingredients into the empty mixing vessel and add ice immediately before shaking or stirring. This prevents setup delays from adding uncontrolled dilution.
Can I use the same jigger for syrup and spirits?
Yes, you can measure both with the same jigger. Let thick syrup drain, and use a following compatible ingredient to carry residue into the same drink; rinse before a different drink when flavor carryover matters.
Is a jigger better than counting a free pour at home?
A marked jigger gives you a direct volume reference without relying on a timed bottle pour. You still need to read the correct line and keep the cup level.
One last thing
Test your measuring habit before replacing your recipe. During your next 2026 cocktail session, repeat the same formula with deliberate marked pours before changing its proportions. A jigger cannot decide whether you prefer a sweeter drink, but it lets you make that decision against a repeatable starting point.