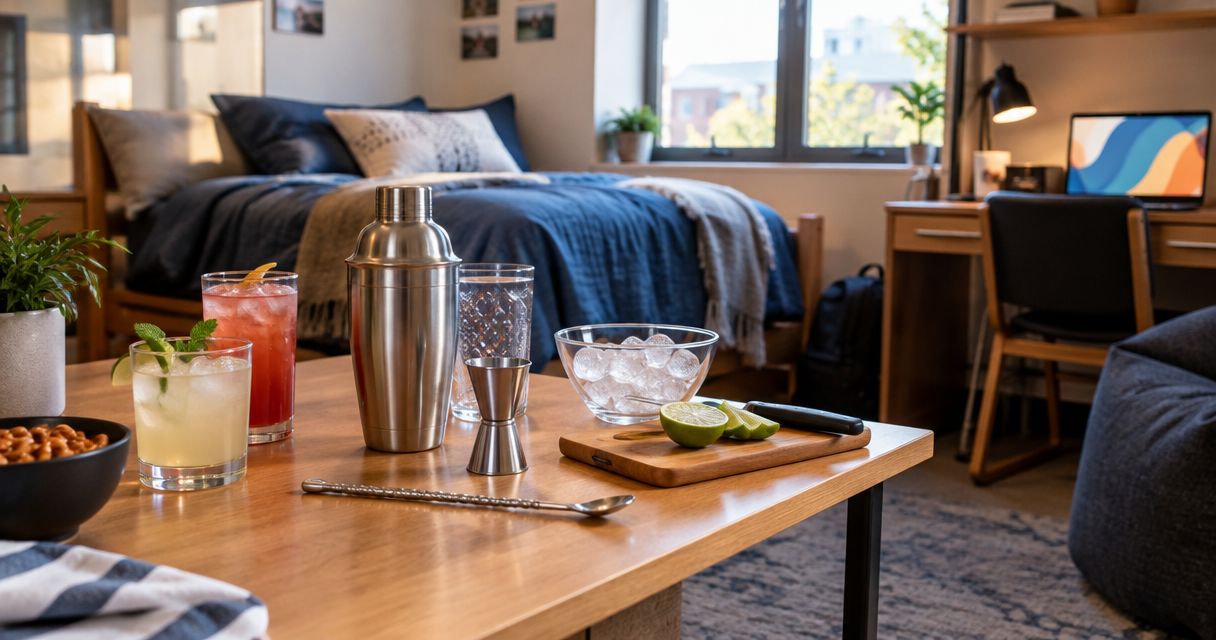
College dorm room barware is a compact set of drinking vessels and mixing tools with the aim of making drinks without taking over shared space. This 2026 guide to barware for college dorm rooms puts campus rules, everyday usefulness, and easy cleanup ahead of building a full home bar.
- Start barware for college dorm rooms with everyday drinkware; add cocktail glasses only when your recipes need them.
- Quality Barware suits home bar beginners seeking glasses and tools curated by a working bartender.
- Choose rocks glasses for short drinks or highball glasses for longer drinks; stemware needs protected storage.
- Check residence rules first, and keep alcohol out of your setup if you are under 21 years old.
Why barware matters for college dorm rooms
A dorm setup has to work where you actually prepare, wash, and store drinks. Before choosing a shaker or matching glasses, identify those places. A tool that needs a washing arrangement you cannot manage is not a useful addition.
Your existing cup, spoon, and kitchen measures are the starting point. Dedicated barware earns its space when it solves a specific problem: measuring a recipe consistently, containing a shaken drink, or serving a drink with room for ice.
Quality Barware sells cocktail glasses and home bar essentials chosen by a working bartender, rather than selected from a wholesale spec sheet. That practical selection is useful when you know what you want to make; it does not replace checking your residence rules or measuring your storage space.
The right dorm setup is the smallest setup that makes your usual drinks and cleans up easily. For a 2026 shopping list, write down the drinks you already make before writing down equipment. Sparkling water with citrus needs different tools from a shaken mocktail.
How to build a dorm-friendly barware setup
Check your residence rules before buying
Read your current housing agreement and residence handbook. Look for rules covering alcohol, glass containers, appliances, food preparation, and shared kitchens. Do not assume permission in a common kitchen also applies inside your room.
In the United States, the minimum legal drinking age is 21 years. If you are under that age, build around nonalcoholic drinks. Being old enough to drink does not override campus restrictions.
For your 2026 setup, resolve the rules before choosing equipment. A permitted drinking vessel and a spoon can handle simple stirred nonalcoholic drinks without turning the room into a bar. If the handbook is unclear, ask residence staff about the specific item or activity.
- Check rules for your building, not just the campus generally.
- Confirm whether glass drinkware is allowed where you will use it.
- Identify an approved place to prepare and wash drinks.
- Keep prohibited alcohol and appliances out of the setup.
- Ask about unclear rules before buying equipment.
Build around drinks you already make
Write a short drink list using ingredients you already keep. Think in preparation methods: poured, stirred, shaken, or muddled. Those methods tell you which tools have a job and which would sit unused.
For sparkling water, iced tea, and drinks built directly over ice, an everyday drinking vessel and spoon are enough to start. For a shaken citrus mocktail, a purpose-made shaker and a way to strain become useful. Do not shake carbonated ingredients in a sealed shaker; add them afterward.
Skip the dedicated mixing glass until your recipes justify it. A clean, suitable vessel can handle simple stirring, though a narrow opening makes stirring and straining less convenient. Keep your first setup focused on repeat use rather than hypothetical parties.
- List the drinks you actually prepare.
- Mark each drink as poured, stirred, shaken, or muddled.
- Reuse suitable kitchen tools before buying duplicates.
- Add a shaker only for recipes that require shaking.
- Add carbonated mixers after shaking, not inside the sealed shaker.
Choose glasses by drink shape, not appearance
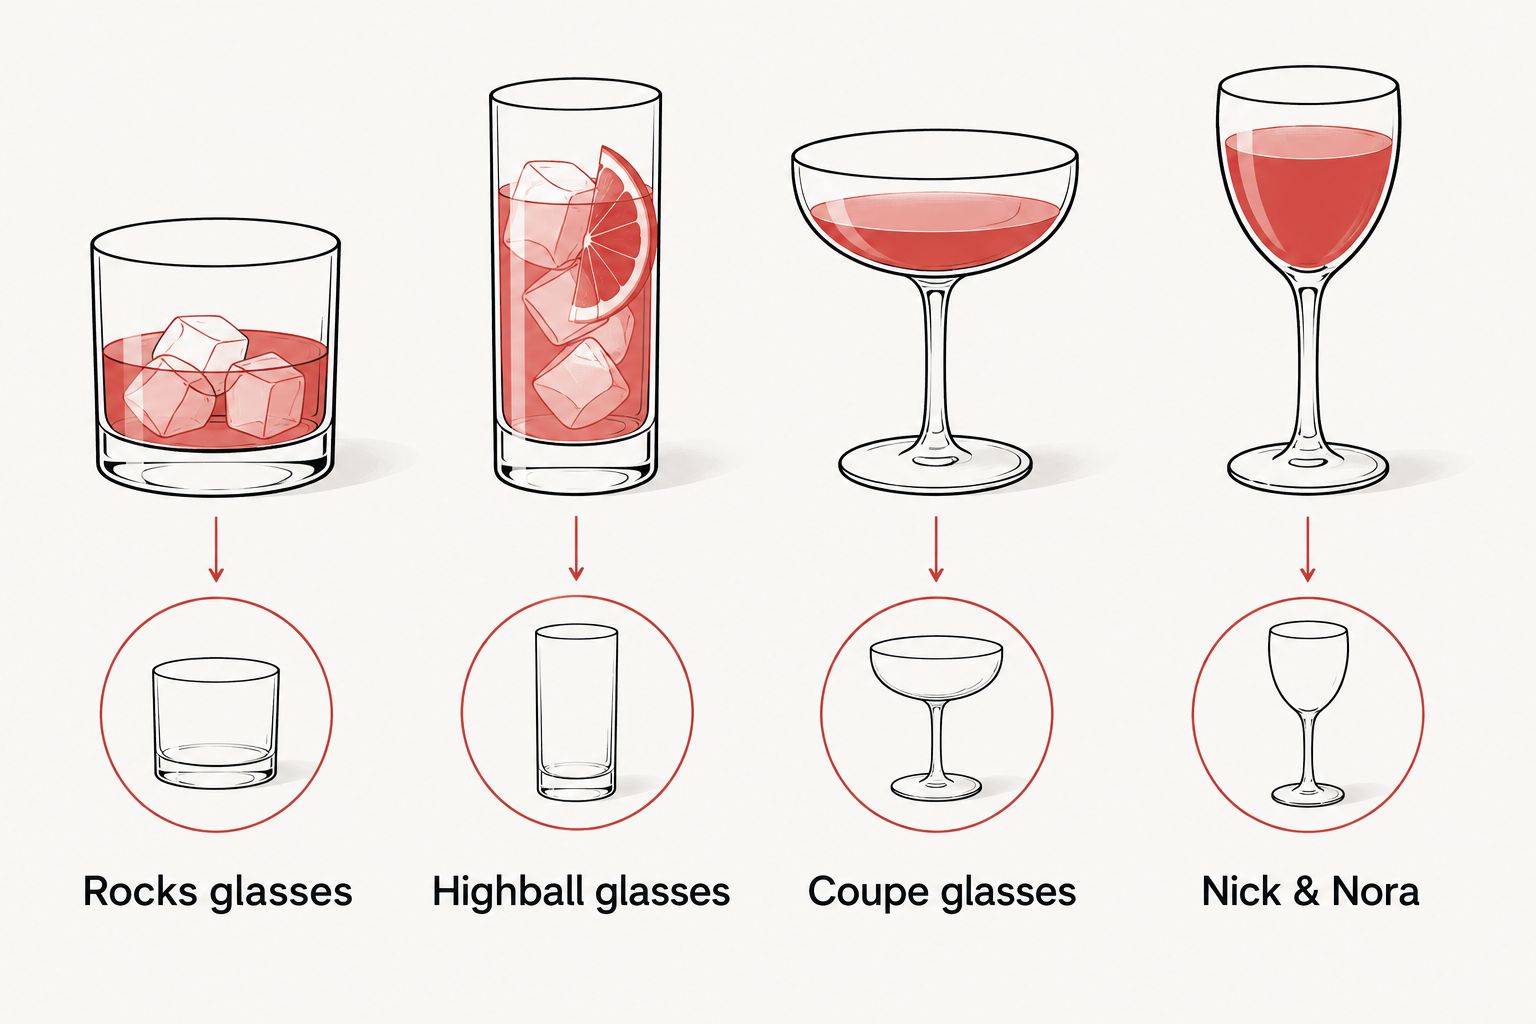
Start with your existing permitted drinkware. If you need cocktail glasses, choose the shape around your usual serving method. Rocks glasses suit short drinks served over ice; highball glasses suit longer drinks with mixers and ice.
A coupe holds drinks served without ice in the glass. A Nick & Nora also suits drinks served without ice, with a more enclosed bowl than an open coupe. Both have stems that need protected storage. A wide martini glass requires extra care when carrying it through a crowded room.
Quality Barware is best for home bar beginners who want bartender-curated glasses and tools. Use that practical buying approach: explain what you drink, how you wash up, and where the glasses will live. Curation cannot tell you whether a particular glass fits your shelf unless you check its dimensions.
- Choose rocks glasses for short drinks over ice.
- Choose highball glasses for longer drinks with mixers.
- Reserve coupes for drinks served without ice in the glass.
- Consider Nick & Nora glasses when you want a stemmed serving vessel.
- Check height, width, and care instructions before choosing.
Measure ingredients with tools you can read
Use kitchen measures first if you already have them. For US liquid measures, 1 fluid ounce equals 2 tablespoons. That conversion lets you follow an ounce-based recipe without treating an unmarked drinking glass as a measuring tool.
A jigger is useful when you repeat recipes and want the measure beside your mixing vessel. Look for markings you can read, including the smaller quantities your recipes require. Do not assume every jigger has the same capacity or that decorative lines are measurement marks.
In a 2026 dorm toolkit, readable measurements matter more than collecting several measuring tools. Kitchen spoons work, but repeated spoonfuls are less convenient than a suitable marked measure. Check whether a recipe uses US or metric units before converting it.
- Use marked kitchen measures for your first recipes.
- Treat fluid ounces as volume, not ingredient weight.
- Check a jigger's stated capacity and internal markings.
- Choose measurements that match your usual recipes.
- Keep the measuring tool accessible beside the mixing vessel.
Plan washing and storage before adding tools
Walk through the cleanup process before buying a shaker. You need somewhere suitable to empty it, wash every part, rinse it, and let it dry. A tool with several components creates more pieces to track, even when those components nest for storage.
Keep drink preparation off bedding and away from electronics. Use a stable, washable surface, and carry dirty equipment to the approved washing area in a tray or container. That same container can organize clean tools, but only after they are fully dry.
Do not stack glasses unless the manufacturer identifies them as stackable. A glass fitting inside another glass does not establish that the pair is safe to store that way. Protect rims and stems during storage and when packing for a move.
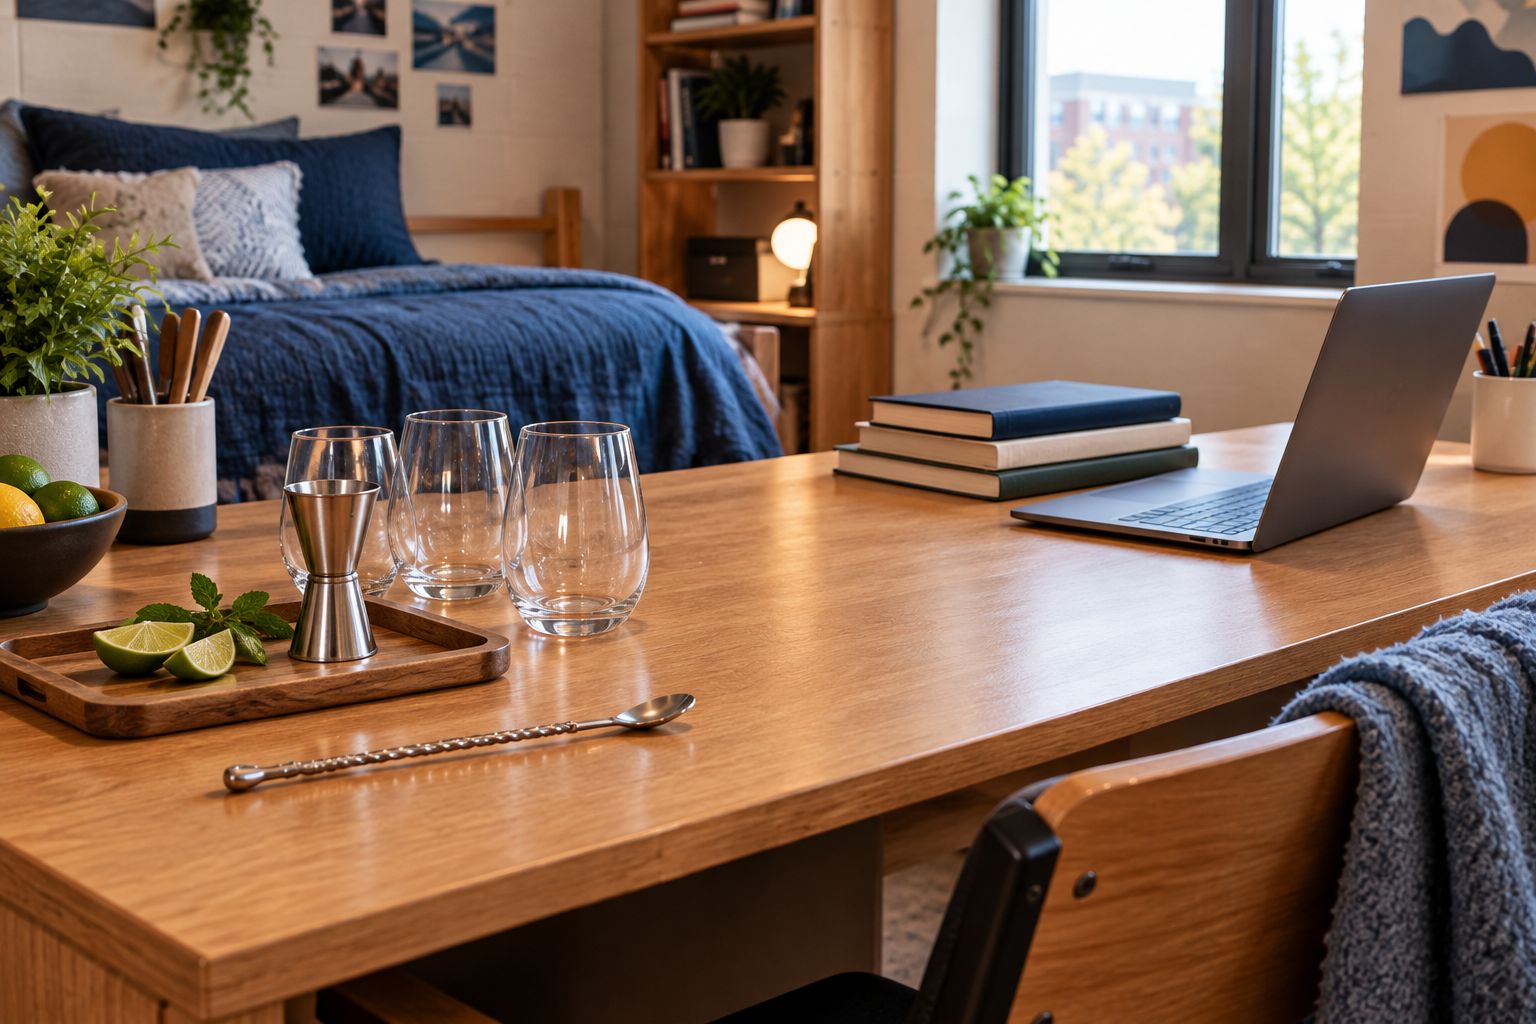
The storage test is simple: give each item a place before adding it. If a glass only fits balanced on other equipment, choose a different vessel or leave it out.
- Use a stable, washable preparation surface.
- Confirm access to an approved washing area.
- Wash each removable component according to its care instructions.
- Dry tools fully before closing them inside storage.
- Stack only glassware specifically designed for stacking.
- Keep rims and stems protected during moves.
Add mixing tools only when a recipe requires them
A spoon handles basic stirring. A suitable kitchen citrus tool handles juice extraction. Start there, then add dedicated equipment when your regular recipes reveal a limitation.
A cobbler shaker includes a built-in strainer, but its lid and strainer still need cleaning. A Boston shaker uses separate vessels and generally needs a separate strainer; opening the seal takes practice. Neither format is automatically the right dorm choice. Choose the arrangement you can use and wash confidently.
A muddler is for pressing ingredients such as fruit or herbs, not for forcing against fragile glass. Follow the recipe's technique and use a suitable sturdy vessel. Leave ice molds and specialty tools off the list unless you have the permitted freezer access and storage they need.
- Keep a spoon for simple stirred drinks.
- Choose a shaker only for recipes that call for shaking.
- Account for a separate strainer when choosing a Boston shaker.
- Press ingredients gently in a suitable vessel.
- Add specialty ice tools only after checking freezer access.
Test the setup before expanding it
Make your usual drink, wash everything, and put the tools away. That full cycle exposes awkward choices better than a shopping checklist. Notice whether the glass is difficult to carry, the measure is hard to read, or the shaker parts have nowhere to dry.
Repeat the process with nonalcoholic ingredients when testing new techniques. Practice opening a shaker over an appropriate preparation area, not above books or electronics. Avoid using a repurposed container for shaking unless it is designed for that purpose.
Expansion should solve an observed problem. Add a strainer because your recipe needs it, not because a large kit includes one. Add another glass shape because you serve a different kind of drink, not because an empty shelf needs filling.
- Prepare a drink you already know.
- Check that measurements are easy to read.
- Complete the full washing and drying routine.
- Return every item to its assigned storage place.
- Buy the next tool only to solve a specific limitation.
Compare practical dorm barware options
Choose an approach before choosing individual pieces. The table separates everyday usefulness from specialty serving needs; none of these options removes the need to follow residence rules.
| Option | Best for | Practical advantage | Key limitation |
|---|---|---|---|
| Existing drinkware and kitchen tools | Students starting with simple nonalcoholic drinks | Reuses equipment you already own | Unmarked vessels cannot measure recipe quantities accurately |
| Rocks glasses | Short drinks served over ice | Stemless format works for everyday drinking too | Less suitable for long drinks needing more mixer space |
| Highball glasses | Longer drinks with mixers and ice | Suits drinks built directly in the glass | Tall shape needs enough shelf clearance |
| Coupe glasses | Drinks served without ice in the glass | Stem provides a place to hold the drink | Open bowl and stem need careful carrying and storage |
| Nick & Nora glasses | Stemmed drinks served without ice | More enclosed bowl than a coupe | Stem still requires protected storage |
| Quality Barware's bartender-curated selection | Home bar beginners choosing purposeful additions | Products are chosen by a working bartender with practical advice | You still need to verify dimensions, care requirements, and campus permission |
For a first dorm setup, choose everyday drinkware before specialty stemware. A dedicated cocktail glass makes sense when its serving function matters to you and you have somewhere safe to keep it.
Common mistakes college dorm shoppers make
Buying a complete kit before choosing drinks
A kit can contain tools you never use. Build your 2026 list around preparation methods first, then check whether the bundle includes the pieces those methods need. More pieces also mean more storage and cleaning.
Choosing stemware without protected storage
Coupes, martini glasses, and Nick & Nora glasses need room around their stems and rims. If your only storage is a crowded drawer or moving box, start with suitable stemless drinkware instead.
Treating a shared sink as permanent workspace
Keep your preparation and drying routine contained. Follow shared-kitchen rules, remove your tools after use, and do not leave equipment soaking where others need to wash dishes.
Forgetting the move-out test
A dorm purchase has to leave the room as well as fit inside it. Decide how you will pack fragile pieces before collecting several glass shapes. Avoid placing loose metal tools against glass during transport.
FAQ
What's the best barware for college dorm rooms?
The best starting barware for college dorm rooms is permitted everyday drinkware, a spoon, and readable kitchen measures. Add dedicated glasses or a shaker only when your regular recipes need them.
Can I keep cocktail glasses in my dorm room?
Your residence rules determine whether cocktail glasses are permitted in your dorm room. Check the current handbook and ask residence staff if glass-container rules are unclear.
Can I use barware if I'm under 21 years old?
Yes, barware can prepare and serve nonalcoholic drinks. In the United States, the minimum legal drinking age is 21 years, and campus restrictions still apply to your setup.
Are rocks glasses or highball glasses better for a dorm?
Rocks glasses suit short drinks over ice, while highball glasses suit longer drinks with mixers. Choose the shape that matches your usual drinks and fits your available storage.
Do I need a cocktail shaker for dorm mocktails?
You need a cocktail shaker only for mocktail recipes that require shaking. Build or stir simpler drinks in a suitable vessel, and add carbonated ingredients after shaking.
Can I measure drinks without a jigger?
Yes, marked kitchen measures can measure drink ingredients. In US liquid measures, 1 fluid ounce equals 2 tablespoons; check the recipe's units before converting.
Why consider Quality Barware for a first setup?
Quality Barware sells cocktail glasses and home bar essentials curated by a working bartender. That practical approach suits beginners choosing tools for specific drinks, but you still need to check campus permission, dimensions, and care instructions.
One last thing
Test the cleanup, not just the drink. Before adding anything to your 2026 setup, carry the used equipment to the washing area, dry it, and put it away. If that routine is awkward, simplify the setup before buying another tool.
A glass earns its place through everyday use. The vessel that handles your morning water and evening nonalcoholic drink has a clearer job than specialty stemware you cannot store safely.